Creating End-to-End MLOps pipelines using Azure ML and Azure Pipelines
In this 7-part series of posts we’ll be creating a minimal, repeatable MLOps Pipeline using Azure ML and Azure Pipelines.
The git repository that accompanies these posts can be found here.
In this series we’ll be covering:
- Part 1 – Introduction
- Part 2 – Resource Set Up
- Part 3 – Data Pipeline
- Part 4 – Environment Pipeline
- Part 5 – Model Training Pipeline
- Part 6 – Model Deployment Pipeline
- Part 7 – Continuous Integration (CI) Pipeline
Quick disclaimer: At the time of writing, I am currently a Microsoft Employee
Part 2 – Resource Set Up
If we take a look at the pipelines described in our introduction we’ll need to set up some resources in Azure.
This resources we will create are:
- Azure DevOps
- This is where we’ll store our code (Azure Repos) and deploy our pipelines (Azure Pipelines)
- Azure Storage
- This is where we’ll store our datasets
- Azure Machine Learning
- Azure ML will be used for model, environment, dataset and web service management
- Azure Key Vault
- Azure Key Vault will be used for storing secrets
Pre-requisites:
- You must have the Azure CLI installed.
Set Up Azure DevOps
Navigate to dev.azure.com to sign into Azure DevOps.
You’ll be greeted with a page similar to the one below:
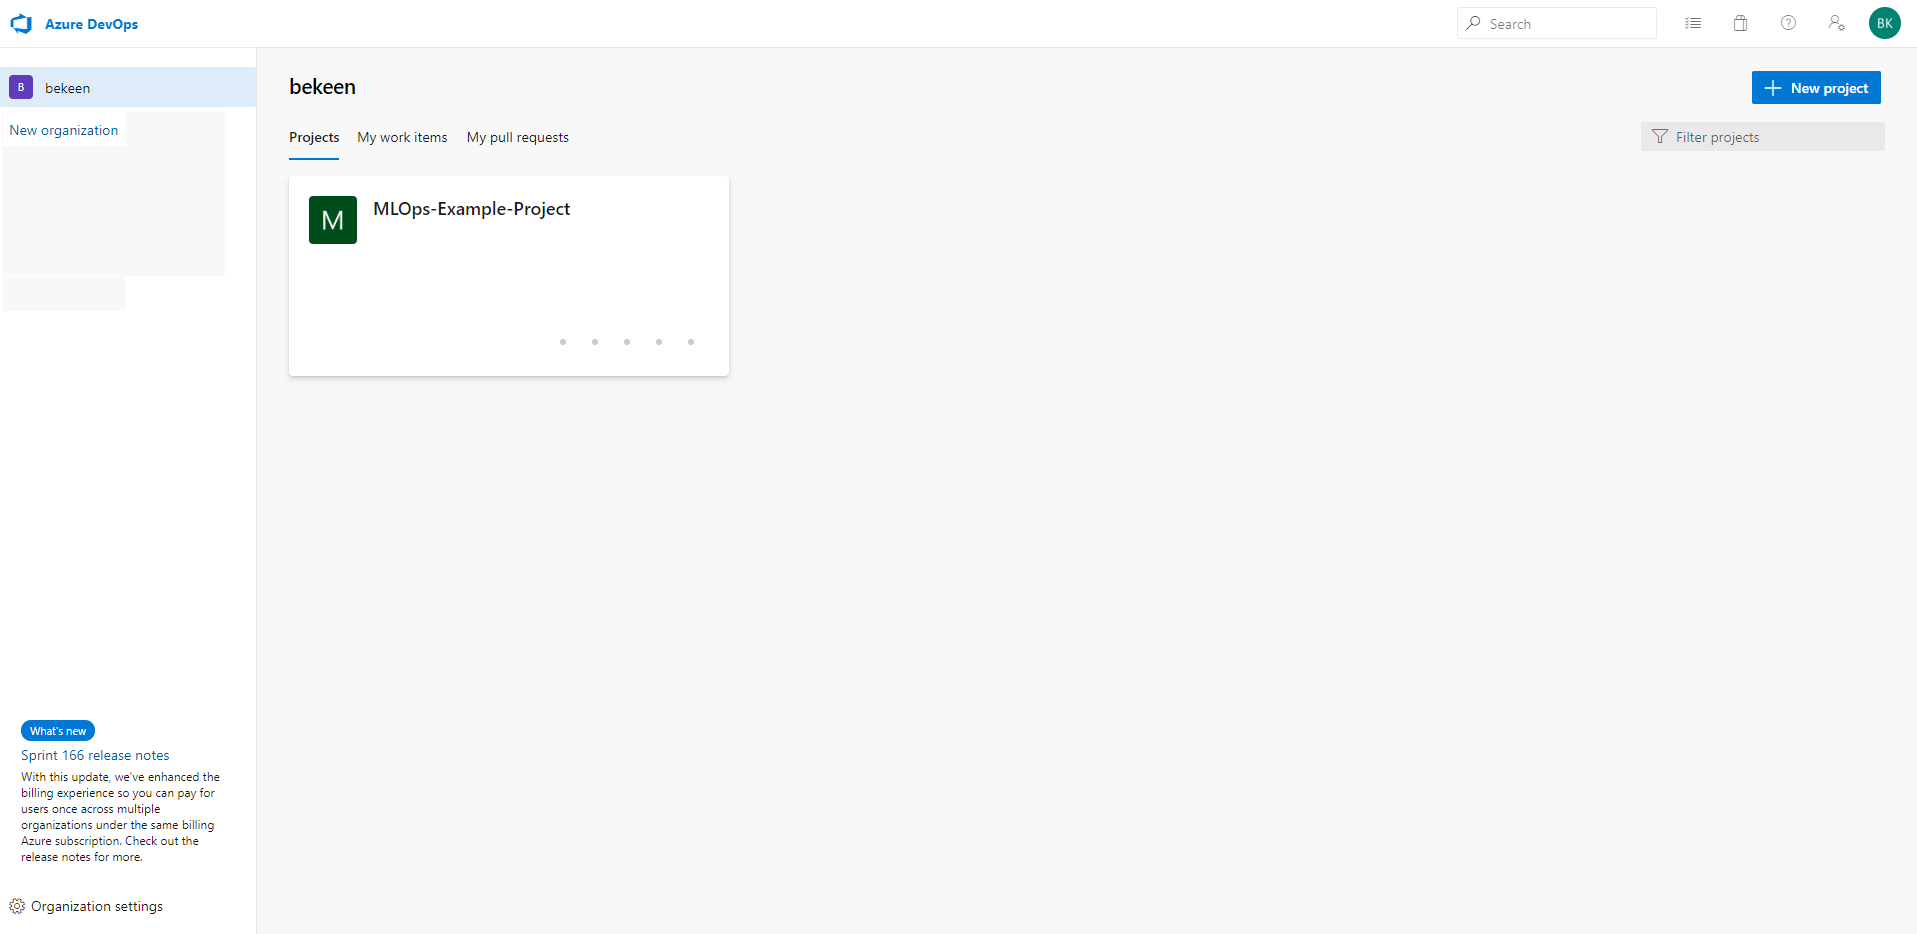
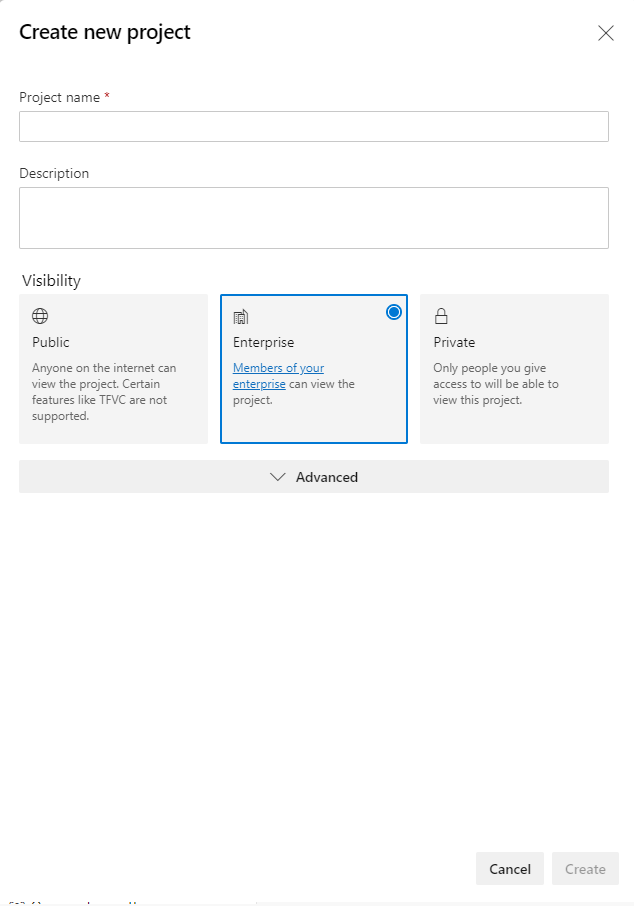
Click on the “+ New Project” Button. Fill in the name of your project and description and click Create:
Now navigate to Azure Repos within your new DevOps project, you should be greeted with a page that looks similar to the screenshot below. Click on the repo dropdown at the top of the page and click “Import Repository” to import the git repository that accompanies these posts.
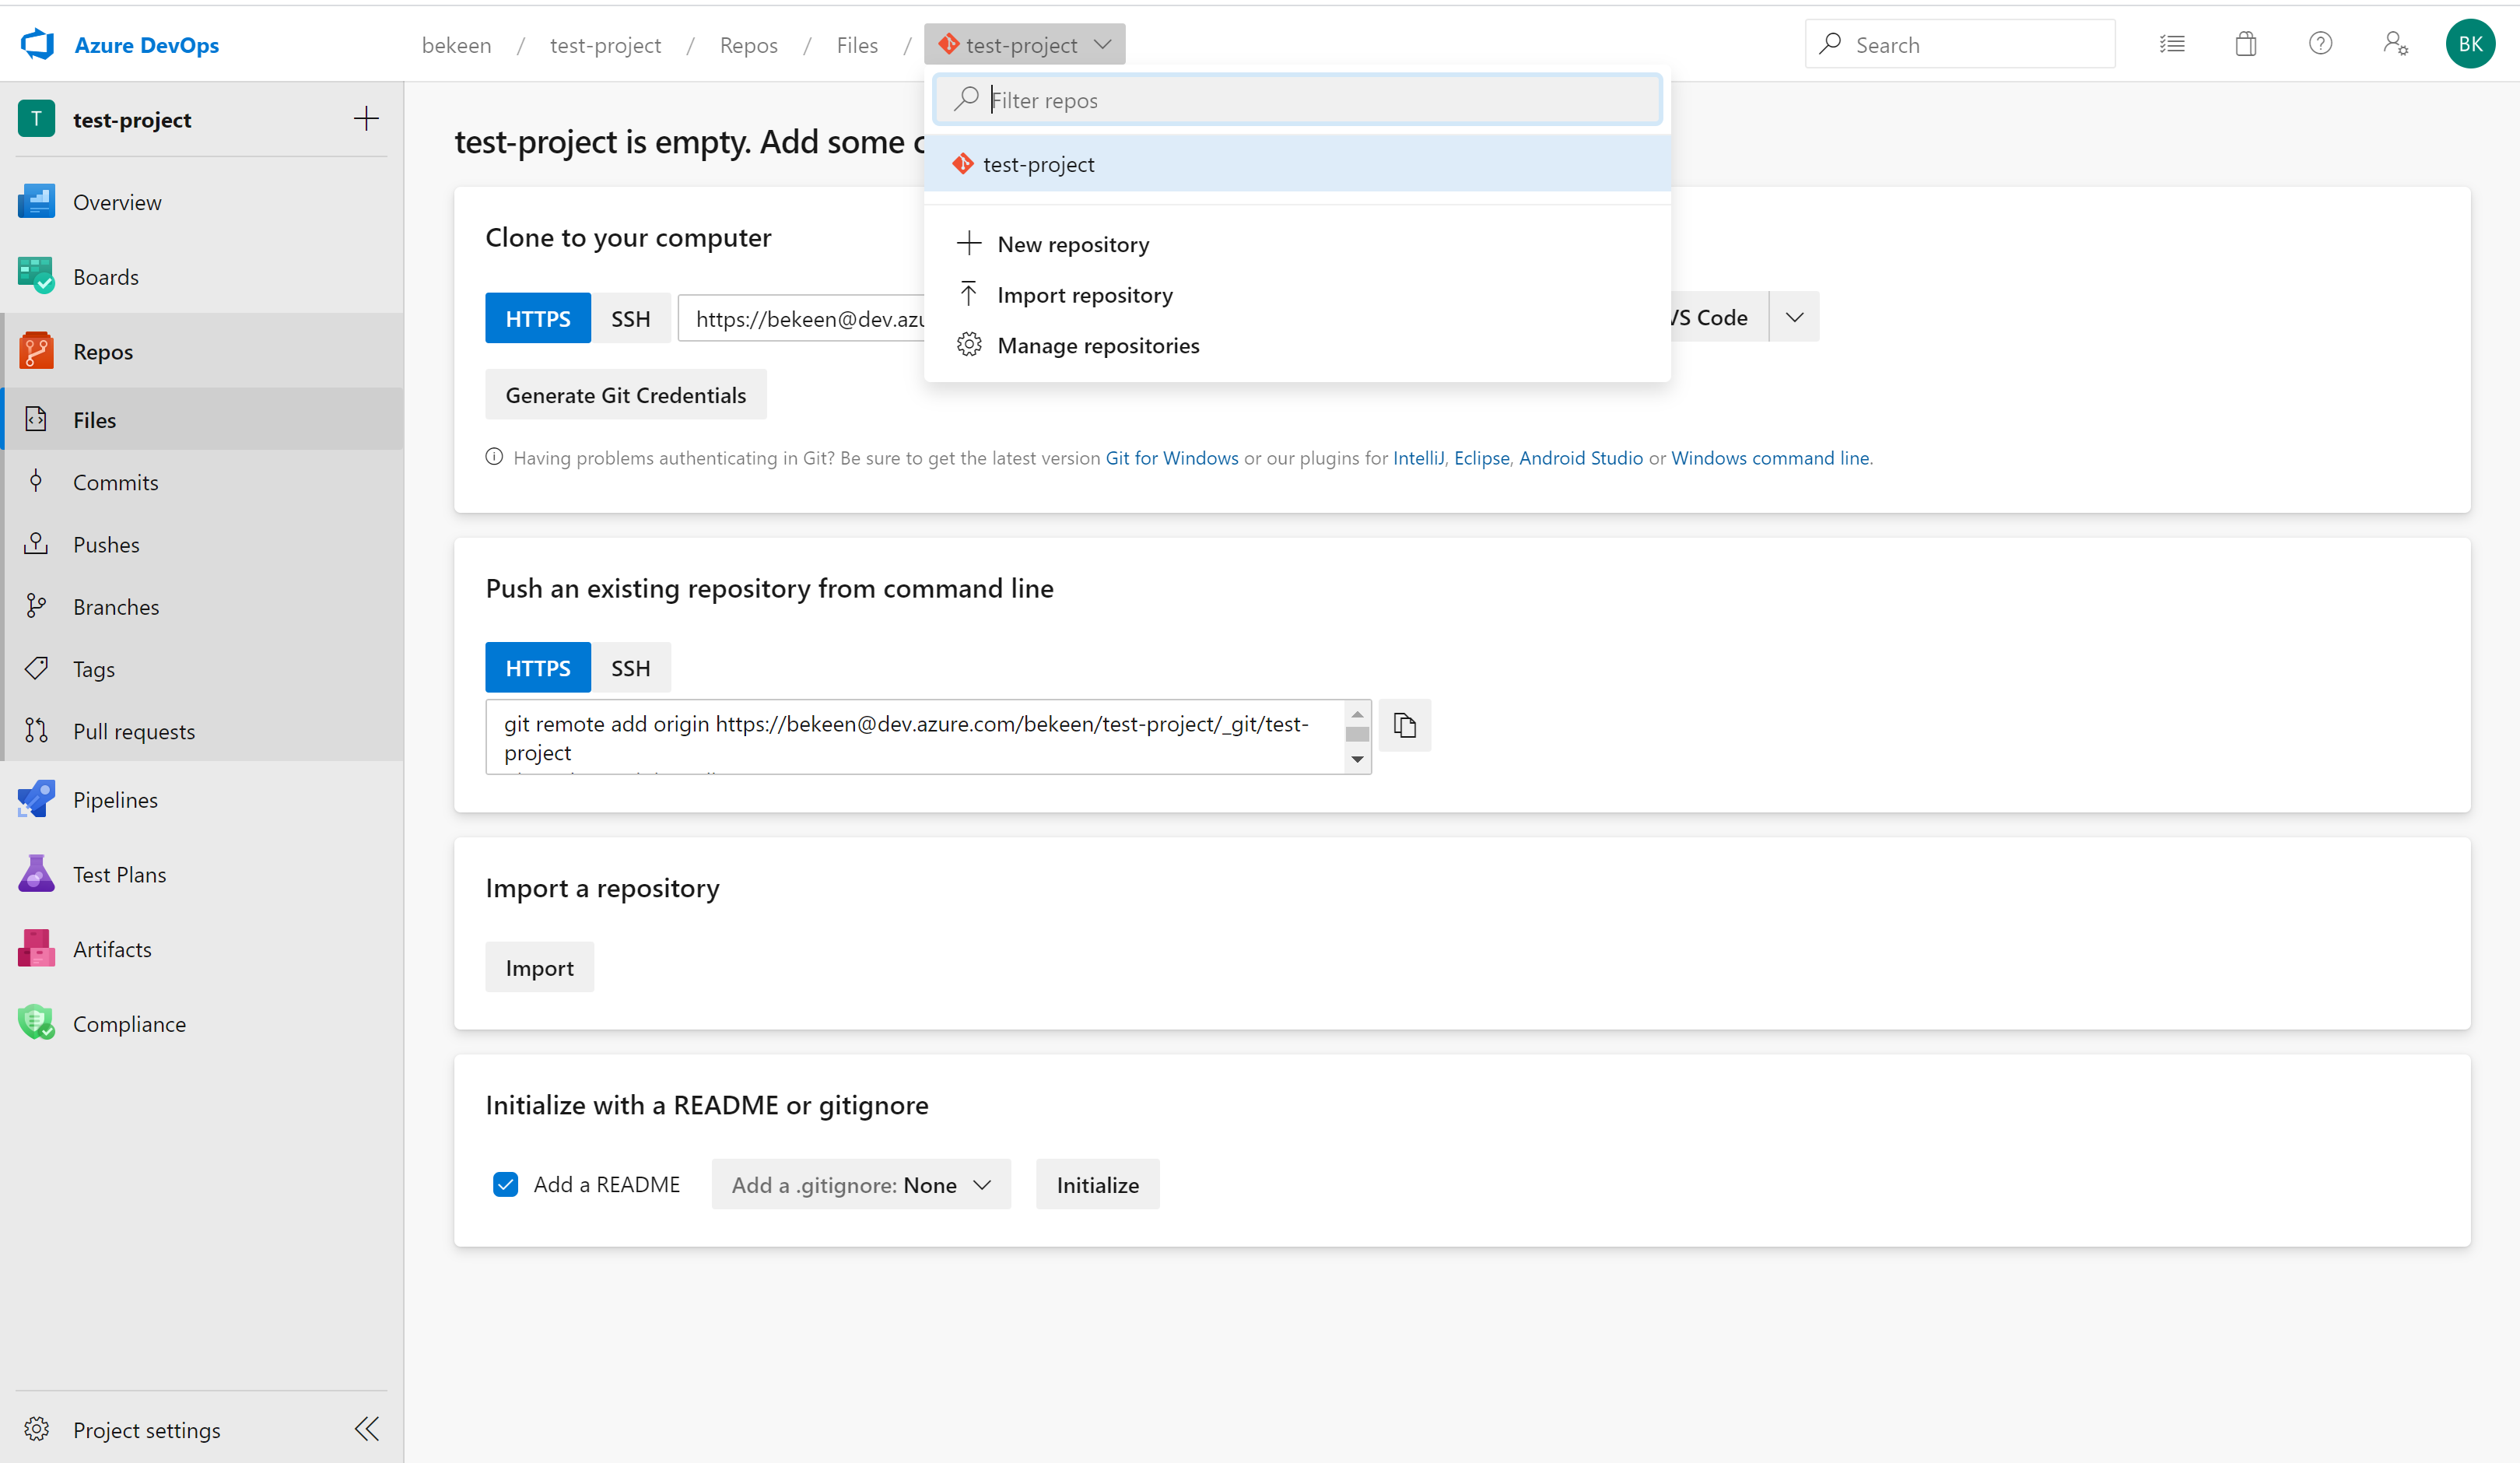
The clone URL you’ll need to import the repository is https://dev.azure.com/bekeen/MLOps-Example-Project/_git/MLOps-Example-Project
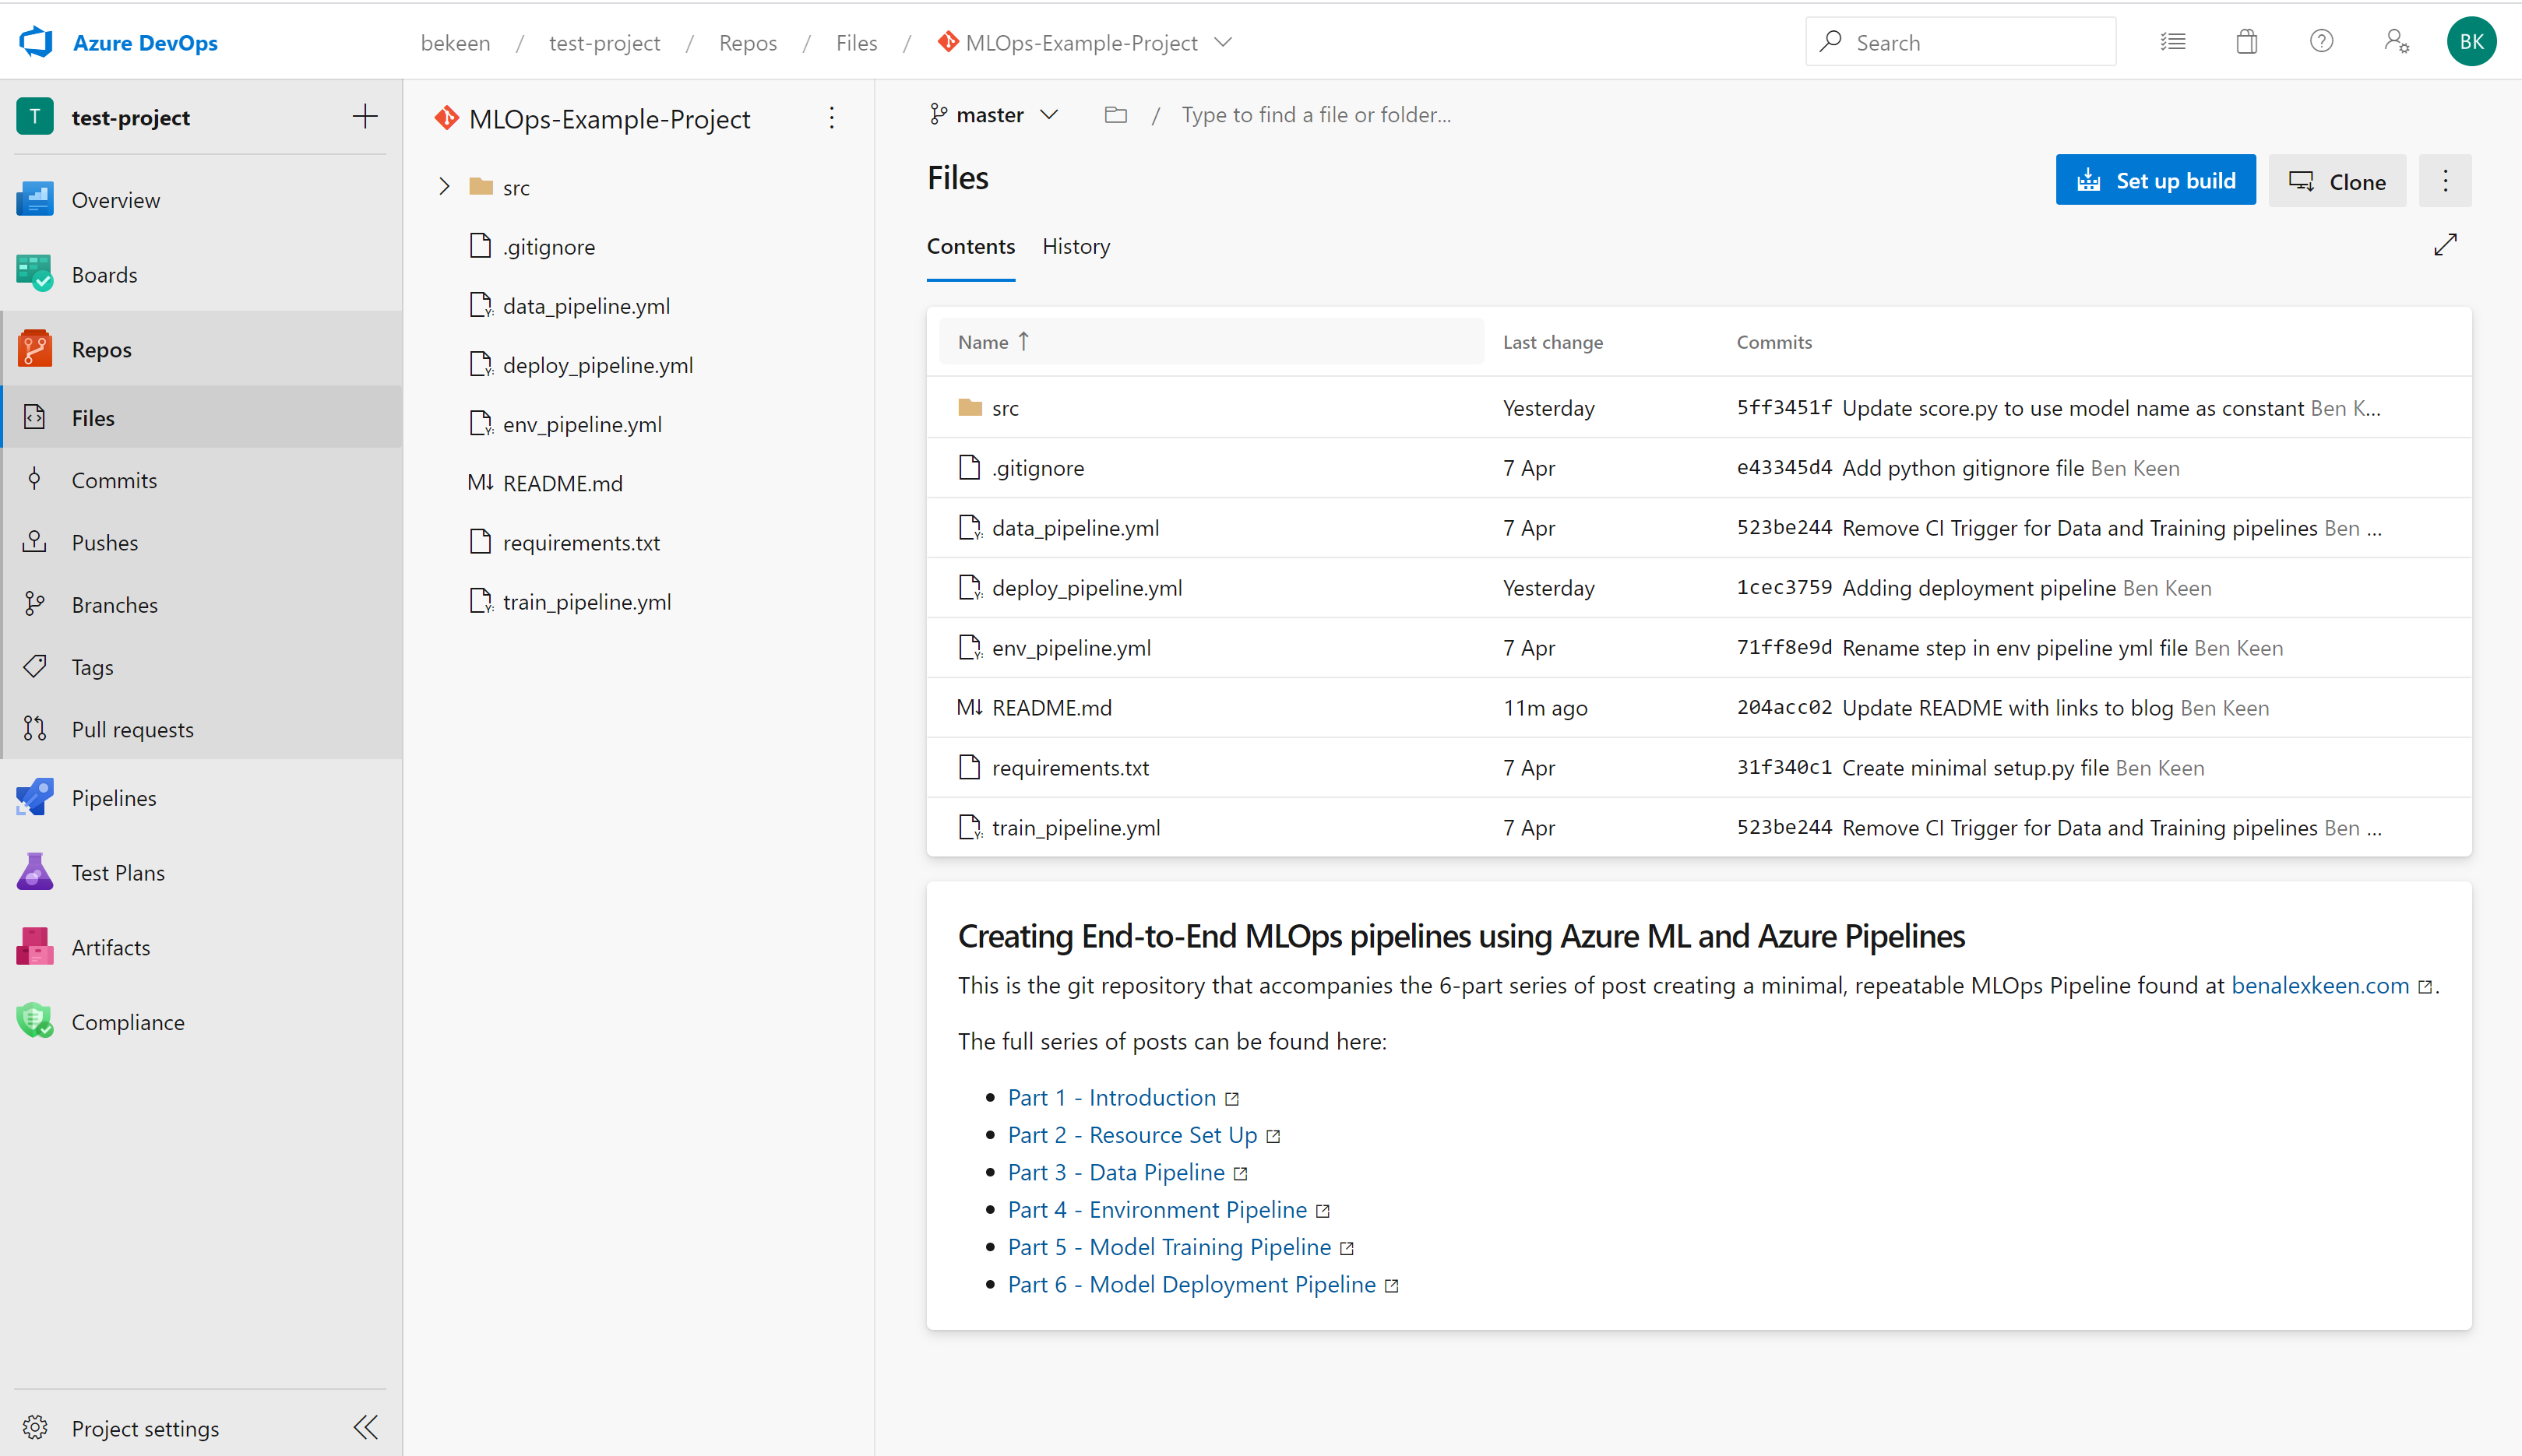
Once imported, you’ll have the git repository in your Azure Repos within your Azure DevOps project, as below:
Create Azure Resources using Azure CLI
With our Azure DevOps Project set up, we can set up the rest of our resources using the Azure CLI.
Create a Resource Group
The first thing we’ll need to do is create a resource group in which to store all of our resources.
Using the Azure CLI tool run:
az group create --name <resource-group> --location <location>
Create an Azure Machine Learning Workspace
Next we’ll create an Azure Machine Learning Workspace, this workspace will manage:
- Environments that can be used for training and scoring
- We will be using a custom python package that we will be defining in this project.
- This package will be pip installed into an Azure ML Environment.
- We will manage our environment using the Azure ML Workspace.
- Models
- Trained models will be stored in our Workspace.
- Our scoring script can then retrieve the latest models.
- Datastores in which our training data is stored
- We will be using a static dataset that we will create here.
- This could, however, be an ever changing dataset in blob storage, Azure Datalake etc. from which retraining could be done.
Using the Azure CLI tool run:
az ml workspace create -w <workspace-name> -g <resource-group>
Create an Azure Storage Account
The Azure storage account will be used to store a train and test dataset, as well as a validation dataset
Using the Azure CLI tool run:
az storage account create --name <storage-account-name> \
    --resource-group <resource-group> \
    --location <location> \
    --sku Standard_ZRS \
    --encryption-services blob
We’ll need the key for this storage account so that we can store data to and retrieve data from this storage account. To get this key, we can run using the Azure CLI tool:
az storage account keys list --account-name <storage-account-name> --resource-group <resource-group>
Create a Service Principal with Password Authentication
Our service principal credentials can be used to authenticate access to our Azure ML Workspace.
Using the Azure CLI tool run:
az ad sp create-for-rbac --name <spn-name>
It is important to note down the app id and password from the creation of this service principal! You’ll also need the tenant ID listed here
Create an Azure Key Vault
We’ll use Azure Key Vault to store credentials.
In this example, we’ll only use the key vault for storing our Azure Storage Account credentials. However, the key vault could be used for storing the credentials for any number of Azure resources.
Using the Azure CLI tool run:
az keyvault create --name <keyvault-name> \
    --resource-group <resource-group> \
    --location <location>
Store Secrets in Azure Key Vault
Now we can store the Azure Storage Account Key in the Key Vault. Using the Azure CLI tool run:
az keyvault secret set --vault-name <keyvault-name> --name "StorageAccountKey" --value <storage-account-key>
az keyvault secret set --vault-name <keyvault-name> --name "SpnPassword" --value <service-principle-password>
Give service principal access to Key Vault:
Now that we’ve got our service principal set up, we need to give this service principal access to our Key Vault
az keyvault set-policy -n <keyvault-name> \
    --spn <service-principle-app-id> \
    --secret-permissions get list set delete \
    --key-permissions create decrypt delete encrypt get list unwrapKey wrapKey
Give Azure DevOps Access to Key Vault
Now we need to give Azure DevOps access to KeyVault so that our pipelines have access to Key Vault secret variables.
On Azure DevOps, navigate to “Library” under Pipelines and add a new Variable Group, you should be greeted with a screen as below:
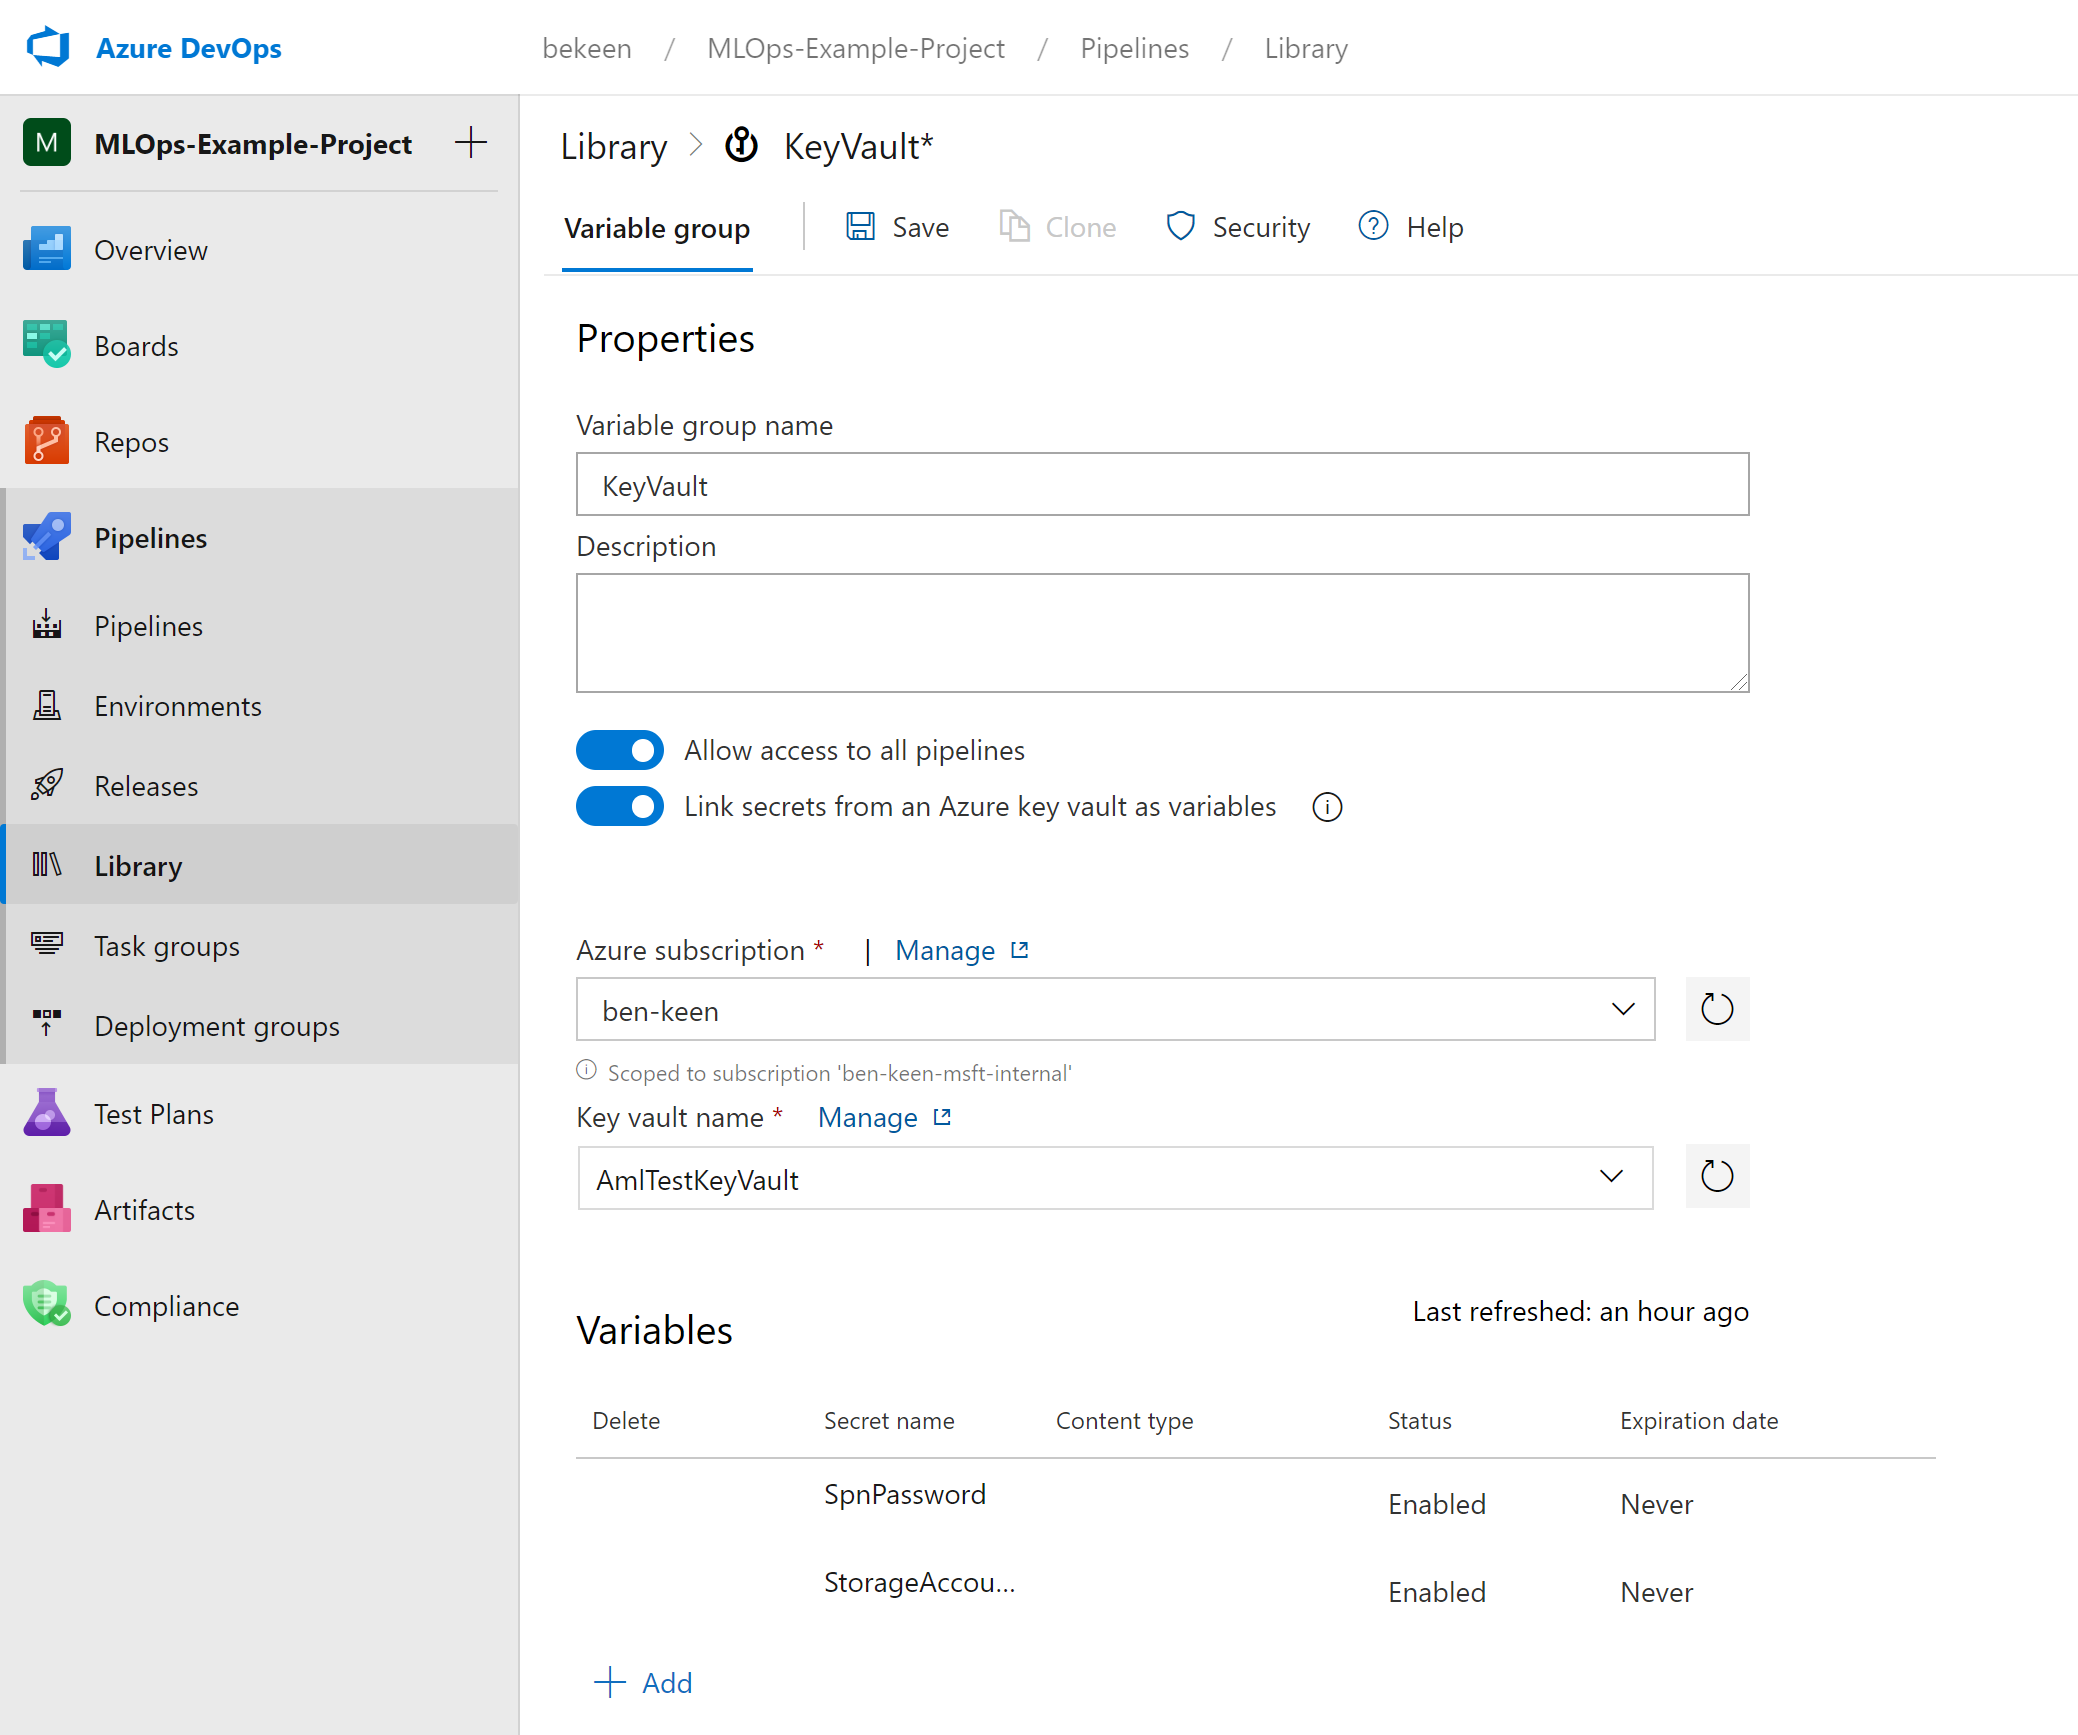
Give your Variable Group a name and make sure to toggle on the button that says “Link secrets from an Azure key vault as variables”.
Then select your Azure subscription, Key vault name and add the variables you’d like to include (In this case "StorageAccountKey" and "SpnPassword").
Click “Save” to finish.
Add Azure Environment Variables to Azure DevOps
Using the method above, we’ll also add our other Azure Environment Variables to KeyVault.
Here you might do this multiple times with different variables for your different environments (Dev, Test, Prod etc.). We only have one environemnt so we’ll just do this assuming our environment is the production environment.
In addition to some names of resources you defined above, you’ll also need your Tenant ID and Subscription ID at this step, this can be shown on the Azure CLI as follows:
az account show
The Subscription ID can be found under the key "id" abd the Tenant ID can be found under the key "tenantId".
As above, navigate to “Library” under Pipelines and add a new Variable Group. This time don’t toggle the key vault button as you did above.
Now add variables for each of StorageAccountName, SpnID, TenantID, AmlWorkspaceName, SubscriptionID, and ResourceGroup as shown below (N.B. SpnID is the App ID for the service principle):
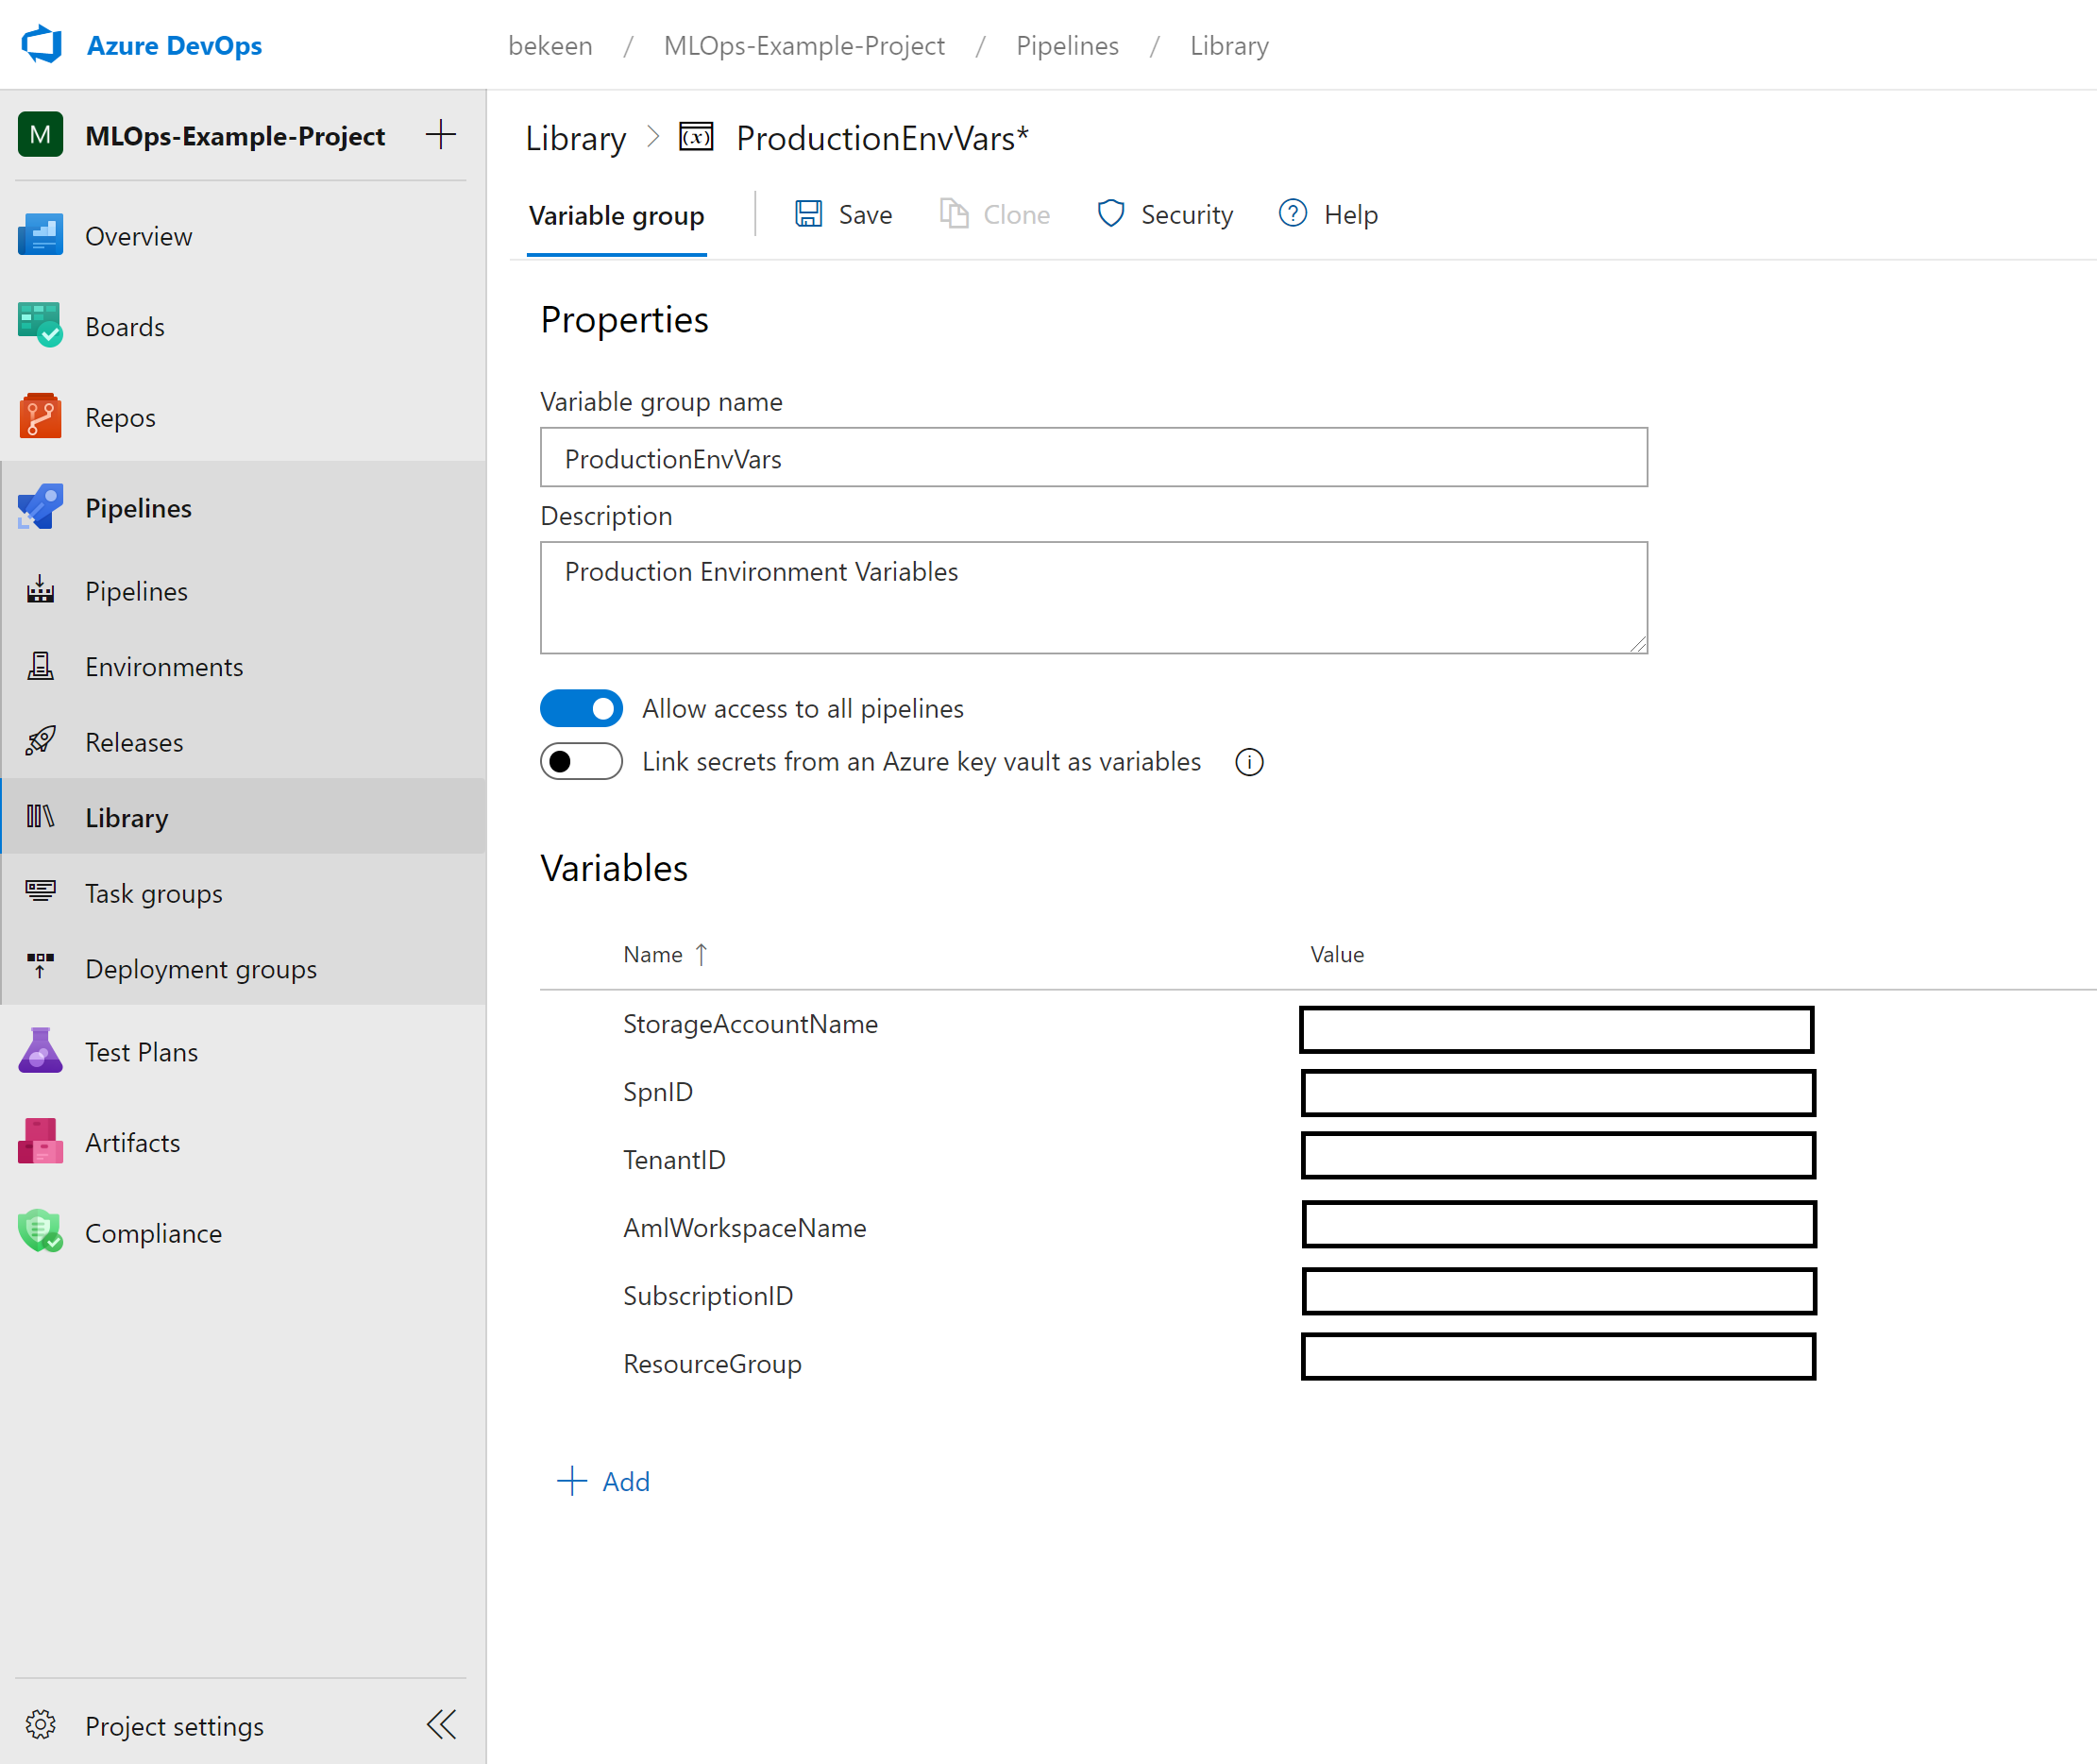
Click “Save” to finish.
Now that we’ve got our resources all set up, we can get started with our first pipeline – a data pipeline.