Unit Testing with Databricks
Part 2 – Integrating PySpark Unit Testing into an Azure Pipelines CI Pipeline
This is part 2 of 2 blog posts exploring PySpark unit testing with Databricks. In this part, we’ll look at integrating the unit tests we defined in part 1 into a Continuous Integration (CI) Pipeline using Azure Pipelines.
For part 1, where we explore the unit tests themselves see here.
For more information about setting up these kind of pipelines, see my previous blog article on setting up a CI Pipeline in Azure Pipelines.
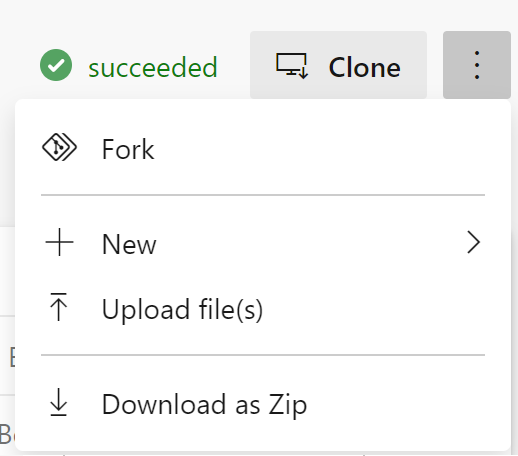
This time you’ll need to fork the git repository to your own Azure DevOps project. So navigate to the git repository here, then click on the ellipsis and select “Fork”:
Quick disclaimer: At the time of writing, I am currently a Microsoft Employee
Defining a Pipeline Library
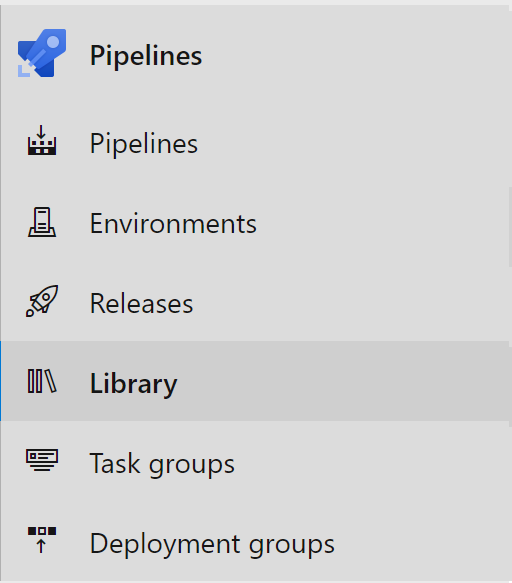
First we’ll define some of the variables that our Pipeline will use when running, we’ll store these in a Variable Group in Azure Pipelines and they’ll be used in the pipeline. Select Library in Azure DevOps:
Then click on the button to add a variable group:

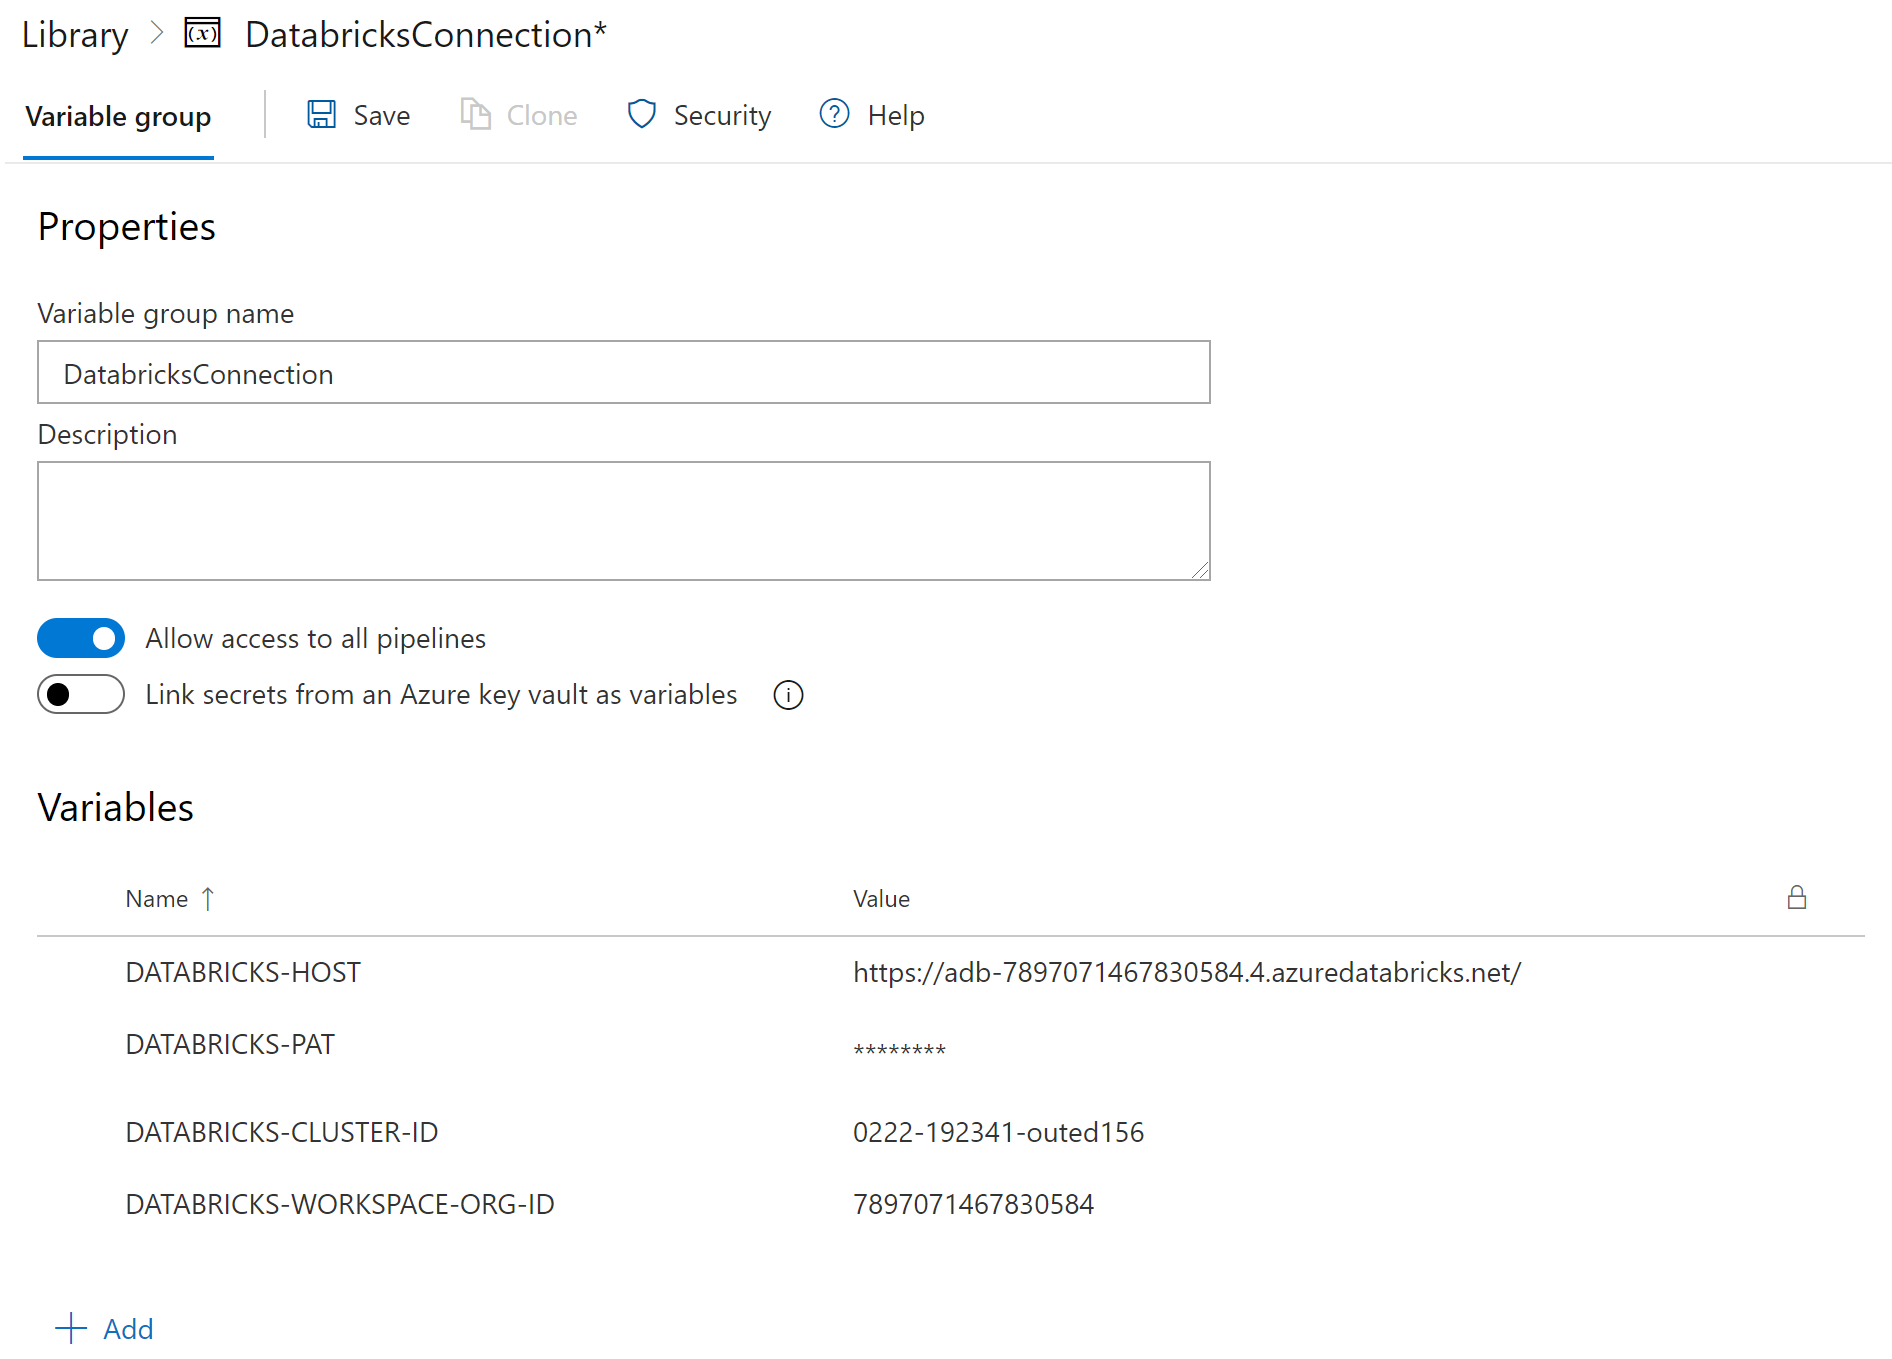
Name your variable group “DatabricksConnection” and add the following variables:
DATABRICKS-HOST- Your Databricks Host (starting https://)
DATABRICKS-PAT- Your Databricks Personal Access Token
DATABRICKS-CLUSTER-ID- The Cluster ID for your Databricks Cluster
DATABRICKS-WORKSPACE-ORG-ID- Organization ID for your Databricks Cluster, in your Databricks workspace URL as ?o=
- Organization ID for your Databricks Cluster, in your Databricks workspace URL as ?o=
and click on Save:
Azure Pipeline Definition
In our repository we define an azure-pipelines.yml yaml configuration file to run our Continuous Integration pipeline. I’ll show it in full first, then go through part-by-part:
trigger:
  branches:
    include:
      - 'main'

pr:
  branches:
    include:
    - '*'

variables:
  - group: 'DatabricksConnection'

name: 'Project CI Pipeline'

pool:
  vmImage: 'ubuntu-20.04'

steps:
- task: UsePythonVersion@0
  inputs:
    versionSpec: '3.7'
    architecture: 'x64'

- script: |
    python -m pip install --upgrade pip
    pip install -r requirements.txt
  displayName: 'Install requirements'

- script: |
    echo "y
    $(DATABRICKS-HOST)
    $(DATABRICKS-PAT)
    $(DATABRICKS-CLUSTER-ID)
    $(DATABRICKS-WORKSPACE-ORG-ID)
    15001" | databricks-connect configure
  displayName: "Configure DBConnect"

- script: |
    pytest -v databricks_pkg/test --doctest-modules --junitxml=unit-testresults.xml --cov=deployment/pkg/ --cov-append --cov-report=xml:coverage.xml --cov-report=html:htmlcov
  displayName: 'Run databricks_pkg package unit tests'

- task: PublishTestResults@2
  inputs:
    testResultsFormat: 'JUnit'
    testResultsFiles: '**/*-testresults.xml'
    testRunTitle: '$(Agent.OS) - $(Build.BuildNumber)[$(Agent.JobName)] - Python $(python.version) - Unit Test results'
  condition: succeededOrFailed()
  displayName: 'Publish unit test and linting results'

- task: PublishCodeCoverageResults@1
  inputs:
    codeCoverageTool: Cobertura
    summaryFileLocation: 'coverage.xml'
    reportDirectory: 'htmlcov'
  displayName: 'Publish Coverage Results'
Pipeline trigger
The pipeline is set to trigger on any code merge into the “main” branch as well as any pull request into any branch:
trigger:
  branches:
    include:
      - 'main'

pr:
  branches:
    include:
    - '*'
Variable Groups
This gets the variables we defined in our Variable Group that we set up in the Library section of Azure Pipelines:
variables:
  - group: 'DatabricksConnection'
Name
This names our CI Pipeline:
name: 'Project CI Pipeline'Pool
We run our CI pipeline on an Ubuntu 20.04 VM:
pool:
  vmImage: 'ubuntu-20.04'
Steps
This sets up the python version to run as python 3.7
- task: UsePythonVersion@0
  inputs:
    versionSpec: '3.7'
    architecture: 'x64'
Install requirements
We then install our project requirements on the VM:
- script: |
    python -m pip install --upgrade pip
    pip install -r requirements.txt
  displayName: 'Install requirements'
Configure Databricks Connect
This will configure Databricks Connect using the variables we defined in our Variable Group (and set the port to the default of 15001 – the same way you did on your local machine in part 1.
- script: |
    echo "y
    $(DATABRICKS-HOST)
    $(DATABRICKS-PAT)
    $(DATABRICKS-CLUSTER-ID)
    $(DATABRICKS-WORKSPACE-ORG-ID)
    15001" | databricks-connect configure
  displayName: "Configure DBConnect"
Run Unit Tests, Publish Test Results and Code Coverage Results
This will run the unit tests, create a test results file and code coverage file in XML format.
- script: |
    pytest -v databricks_pkg/ --doctest-modules --junitxml=unit-testresults.xml --cov=databricks_pkg/ --cov-append --cov-report=xml:coverage.xml --cov-report=html:htmlcov
  displayName: 'Run databricks_pkg package unit tests'
We can then publish the test results and code coverage results:
- task: PublishTestResults@2
  inputs:
    testResultsFormat: 'JUnit'
    testResultsFiles: '**/*-testresults.xml'
    testRunTitle: '$(Agent.OS) - $(Build.BuildNumber)[$(Agent.JobName)] - Python $(python.version) - Unit Test results'
  condition: succeededOrFailed()
  displayName: 'Publish unit test and linting results'

- task: PublishCodeCoverageResults@1
  inputs:
    codeCoverageTool: Cobertura
    summaryFileLocation: 'coverage.xml'
    reportDirectory: 'htmlcov'
  displayName: 'Publish Coverage Results'
Run Azure Pipeline
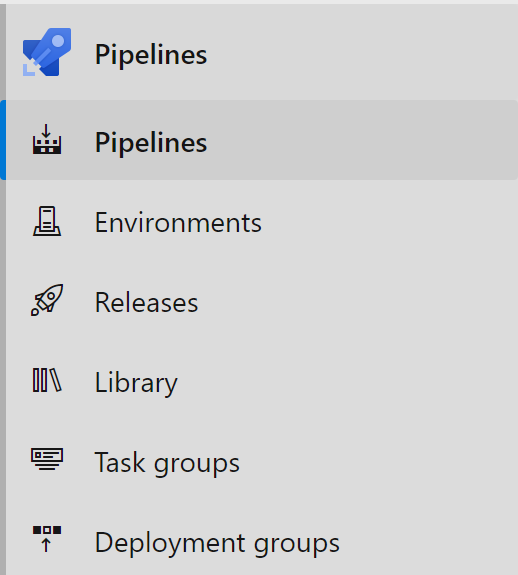
Select Pipelines in Azure Pipelines
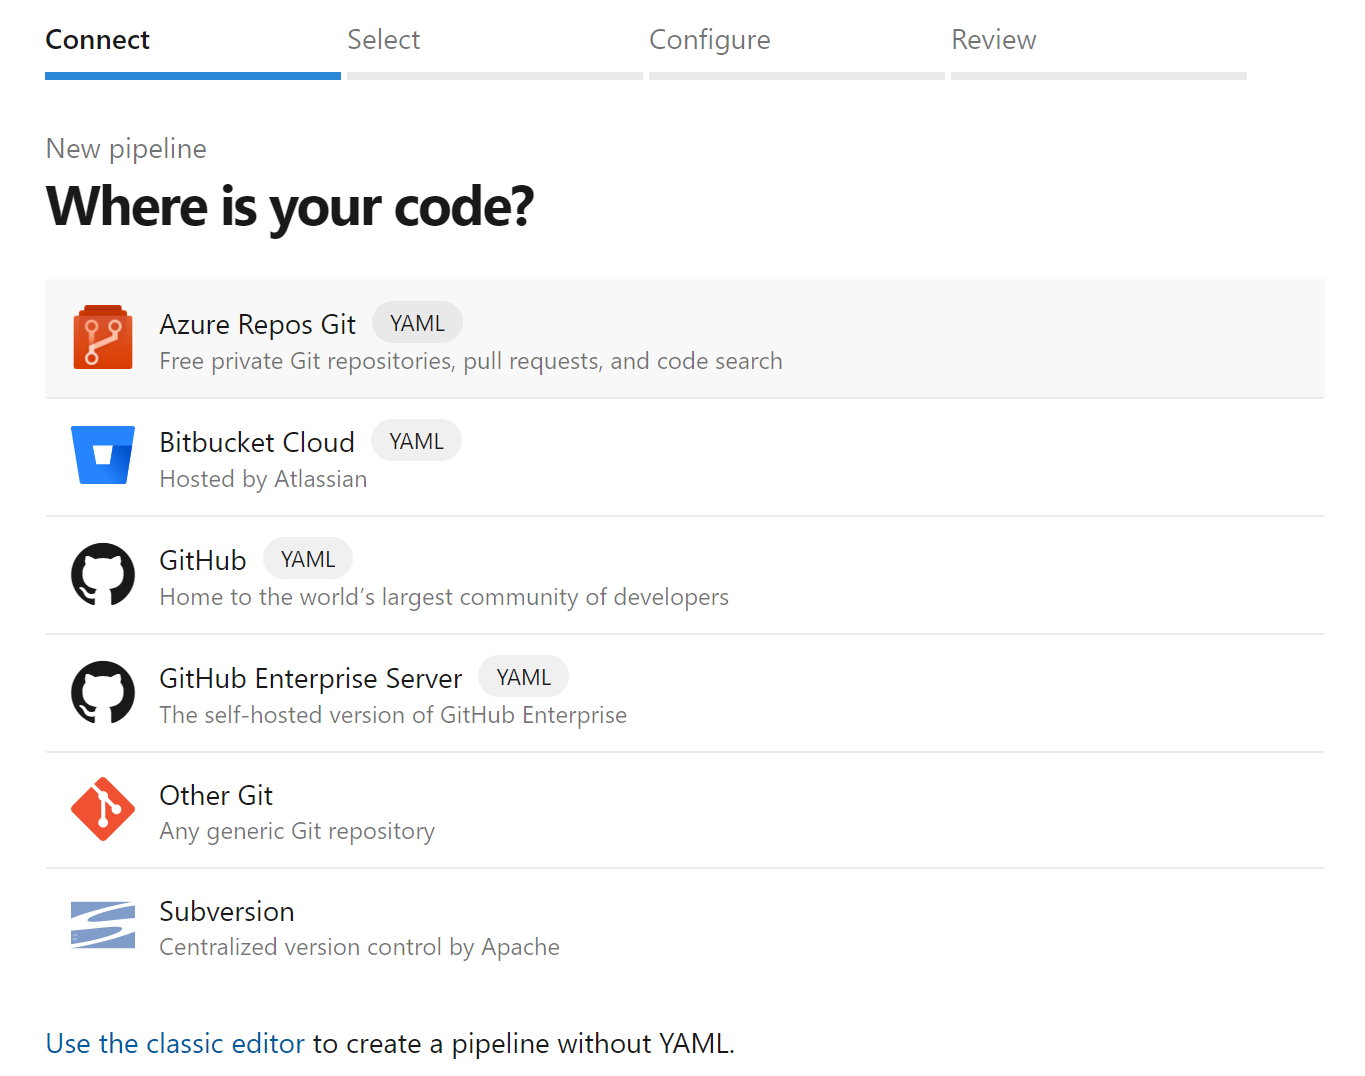
Then Select Azure Repos Git:
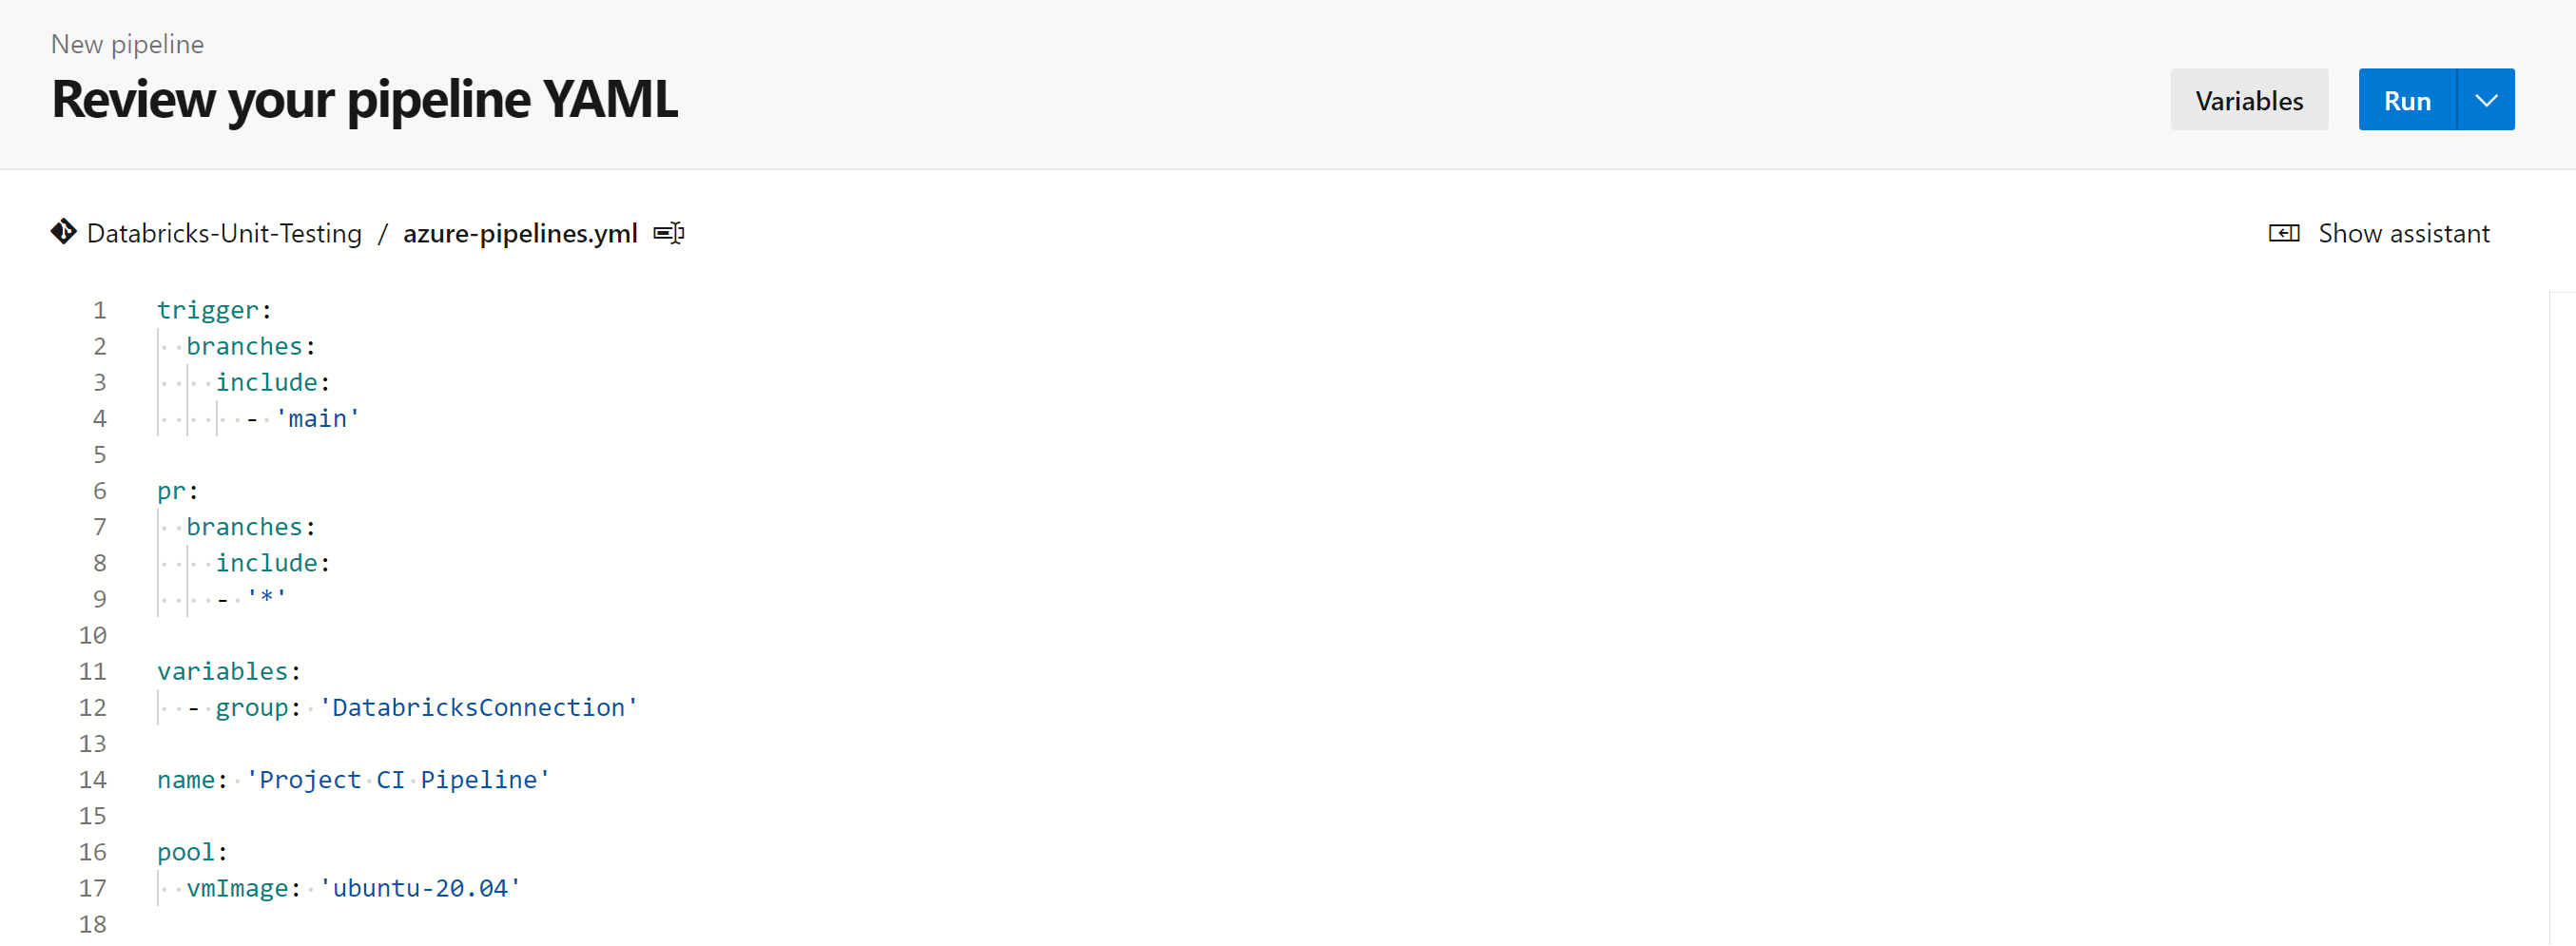
Select your repository and then click on the Run button:
You’ll come to a page that shows your job running:

You can click on this job to view more information:
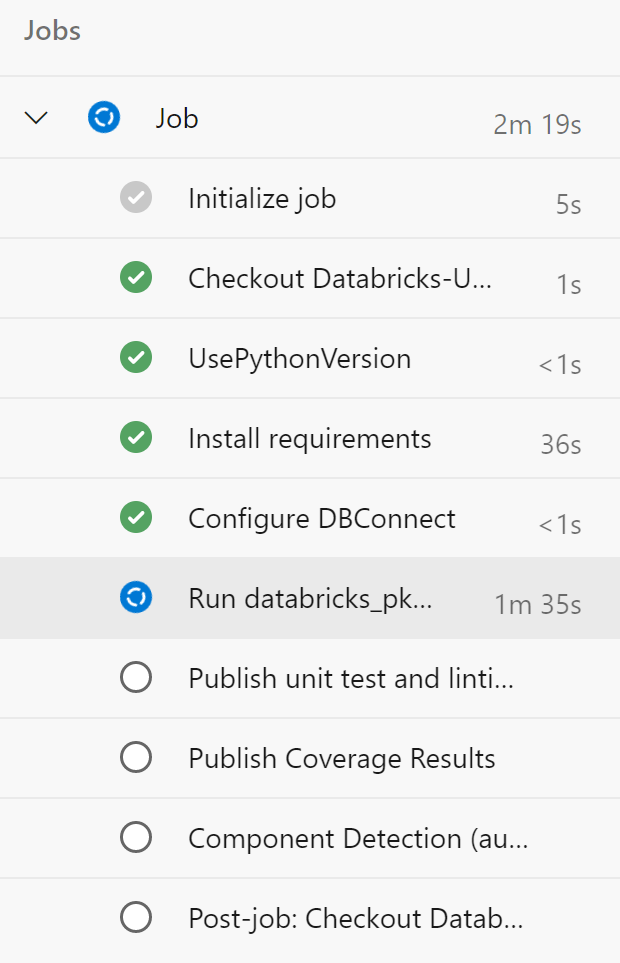
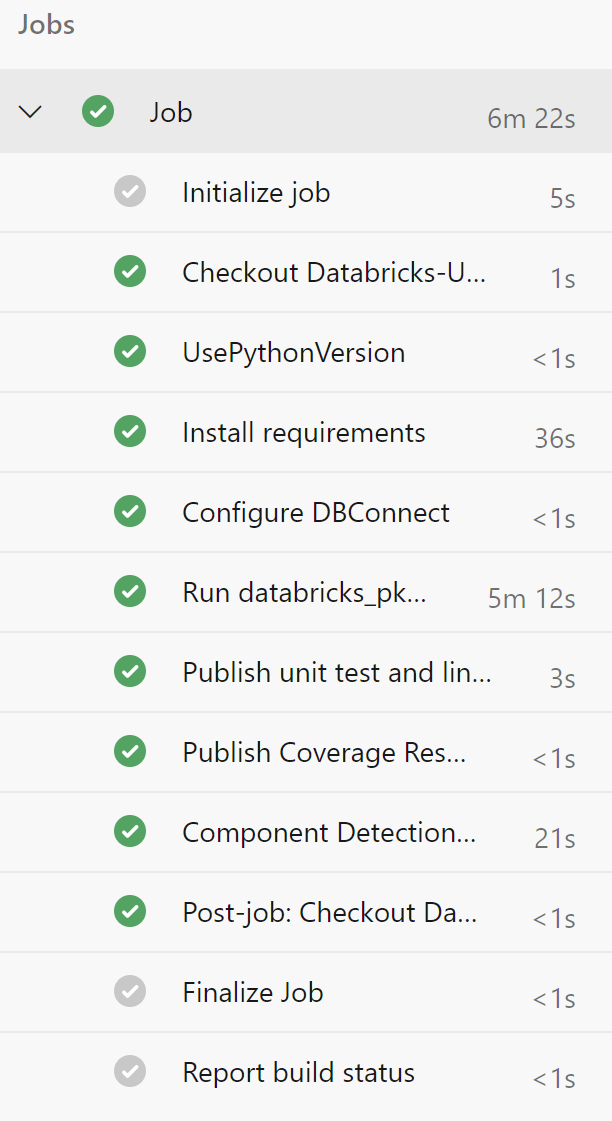
When the pipeline is complete, you’ll see something similar to this:
Your pipeline will now run on any merge to the master branch or any pull request.
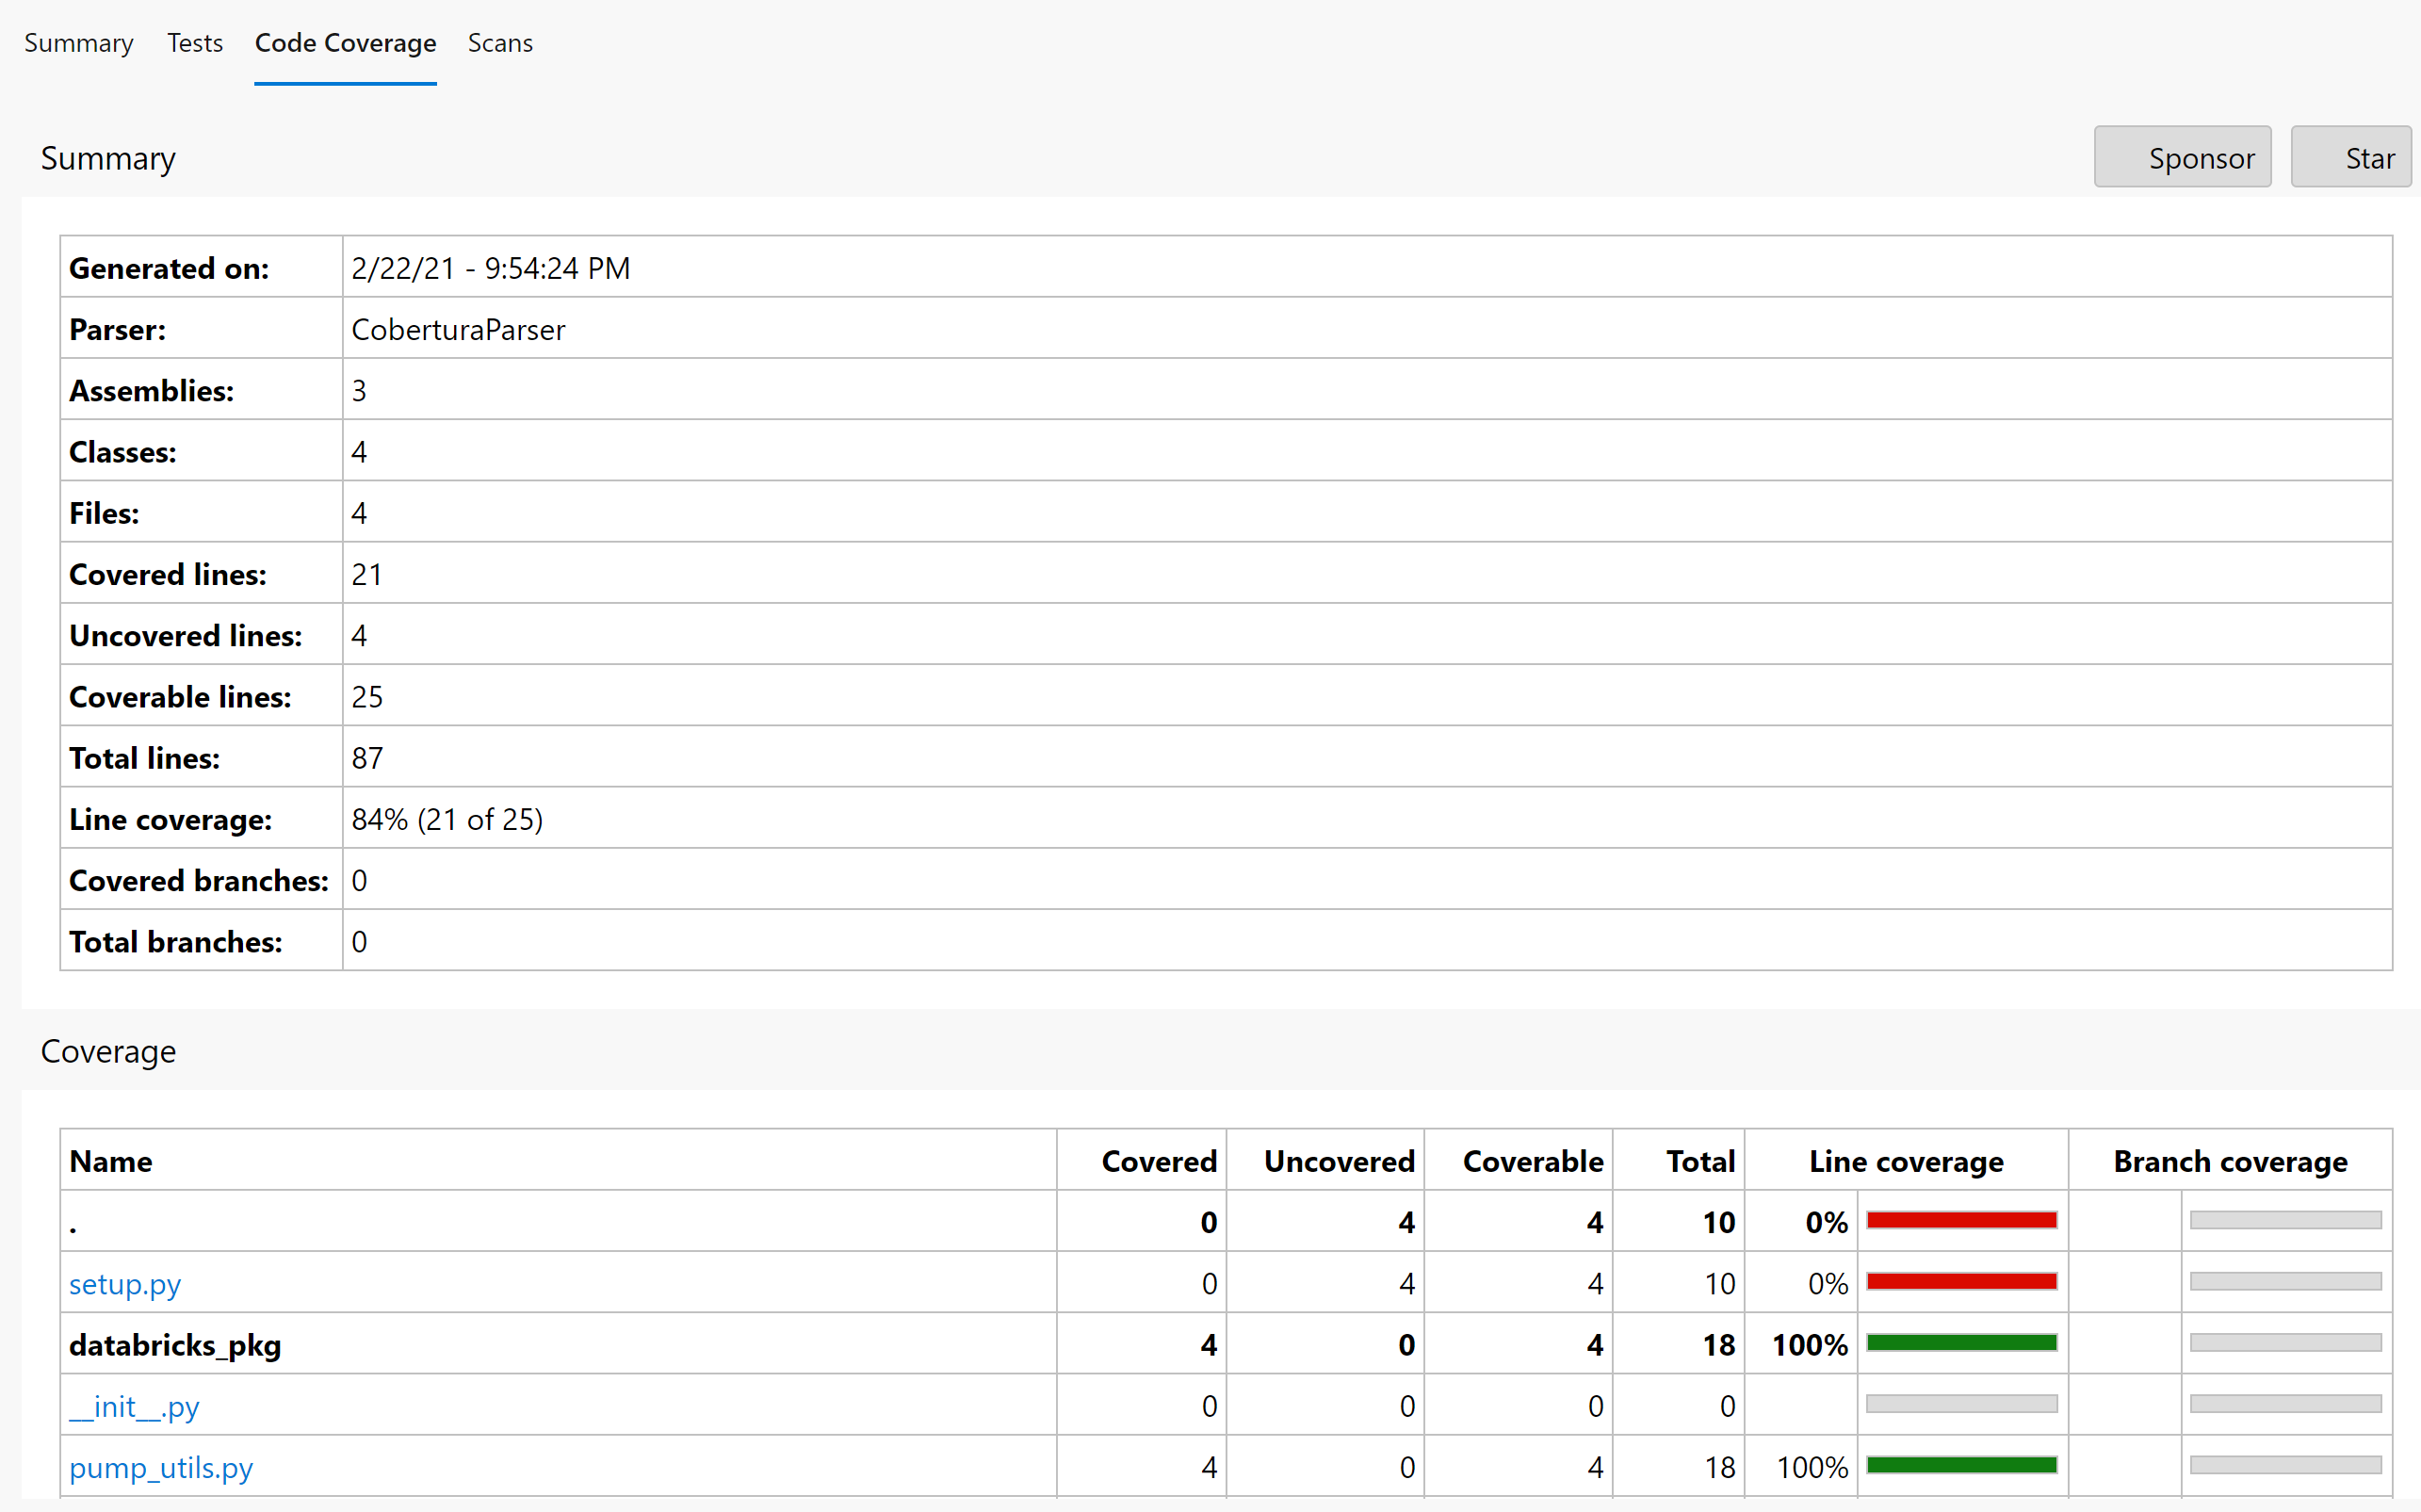
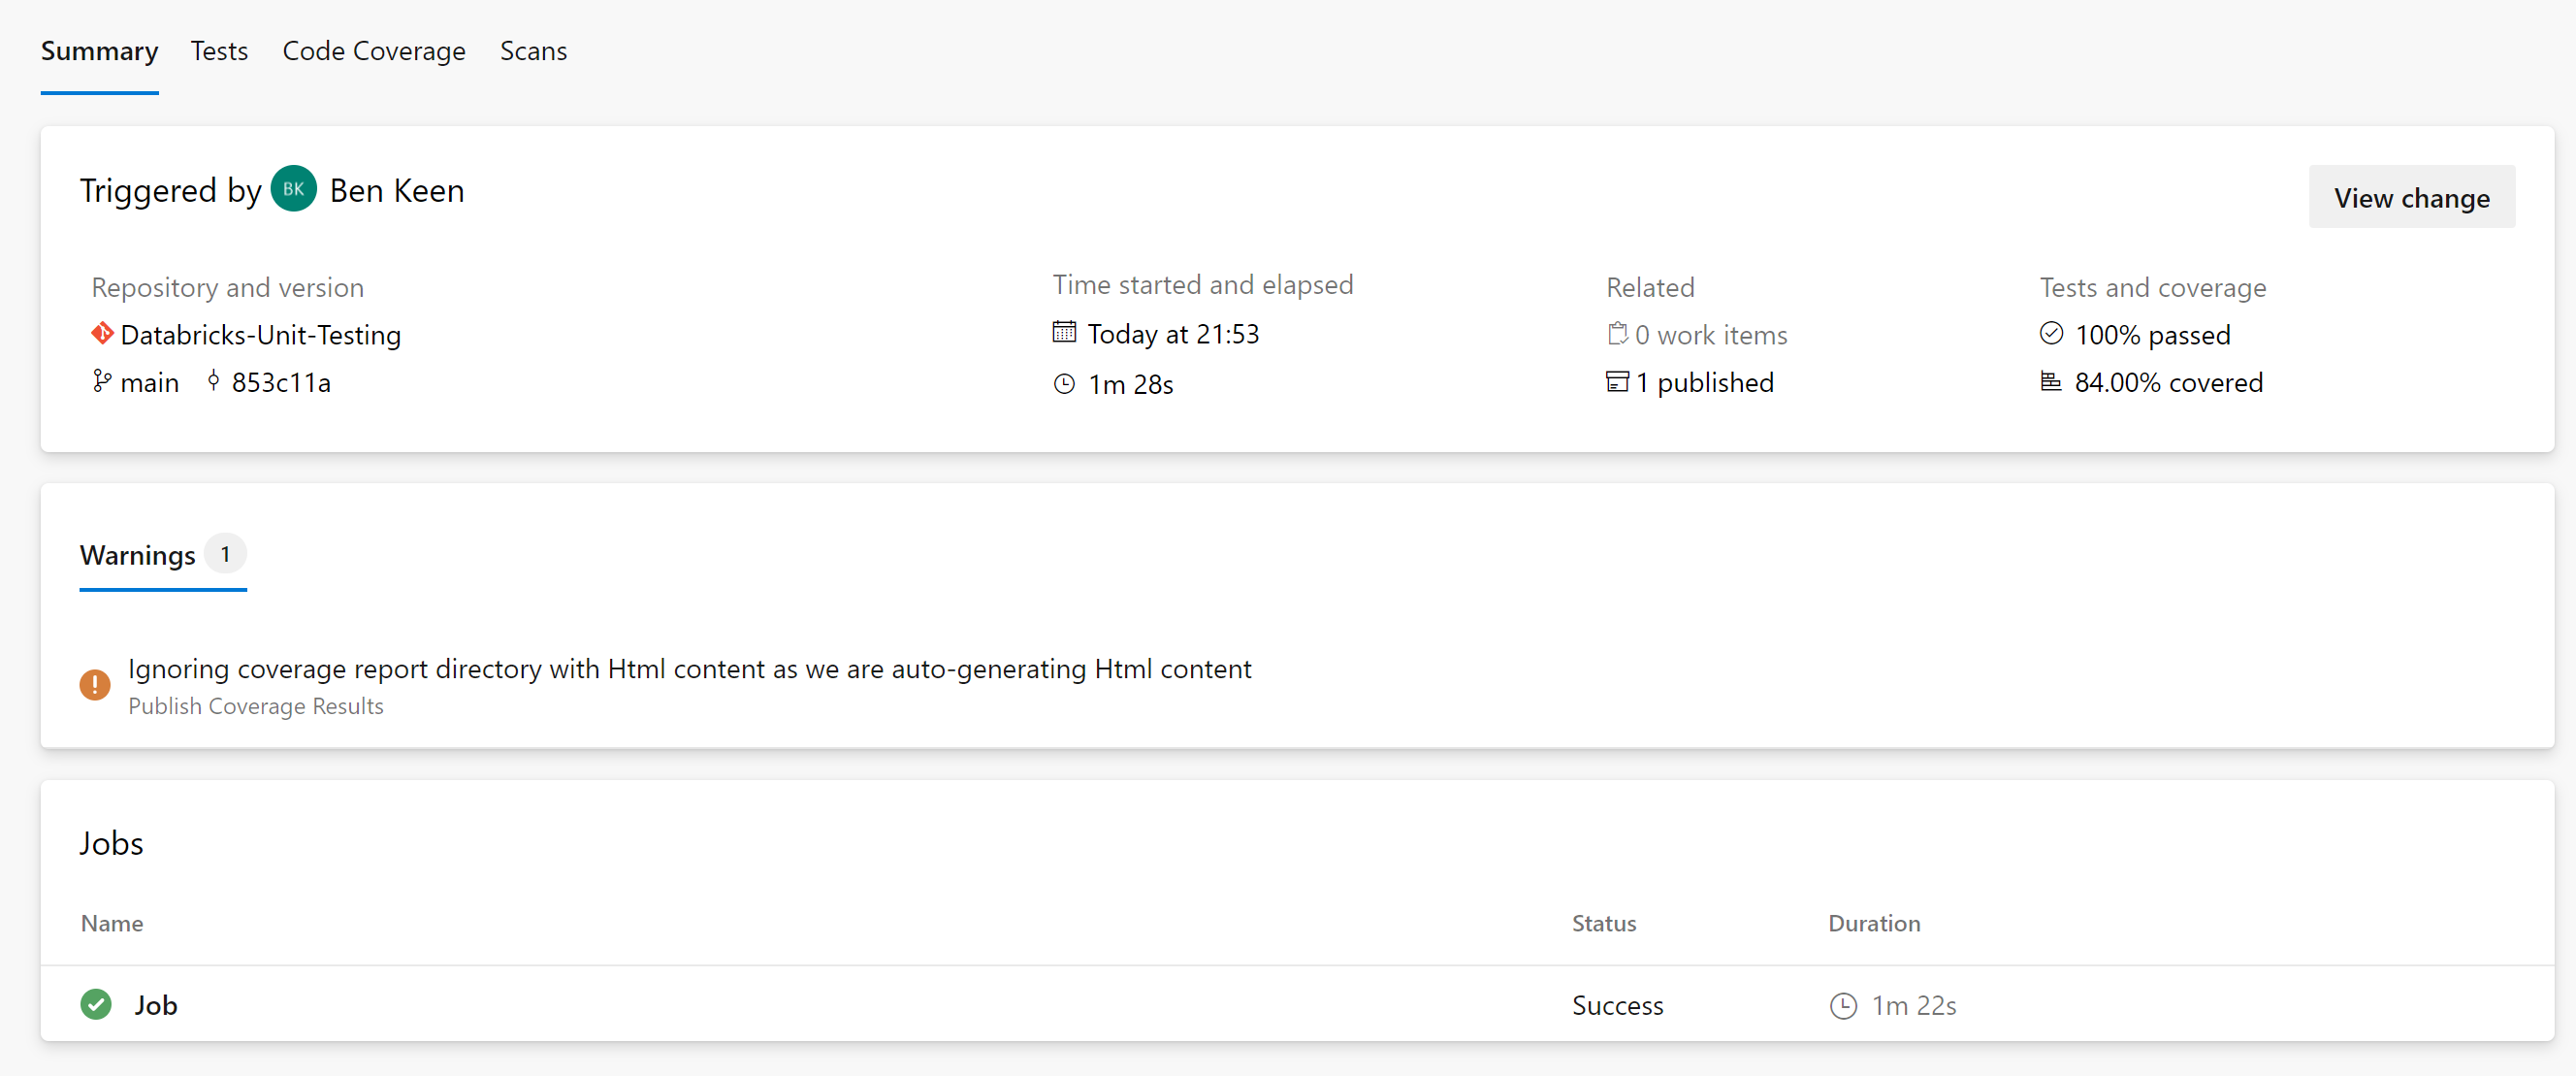
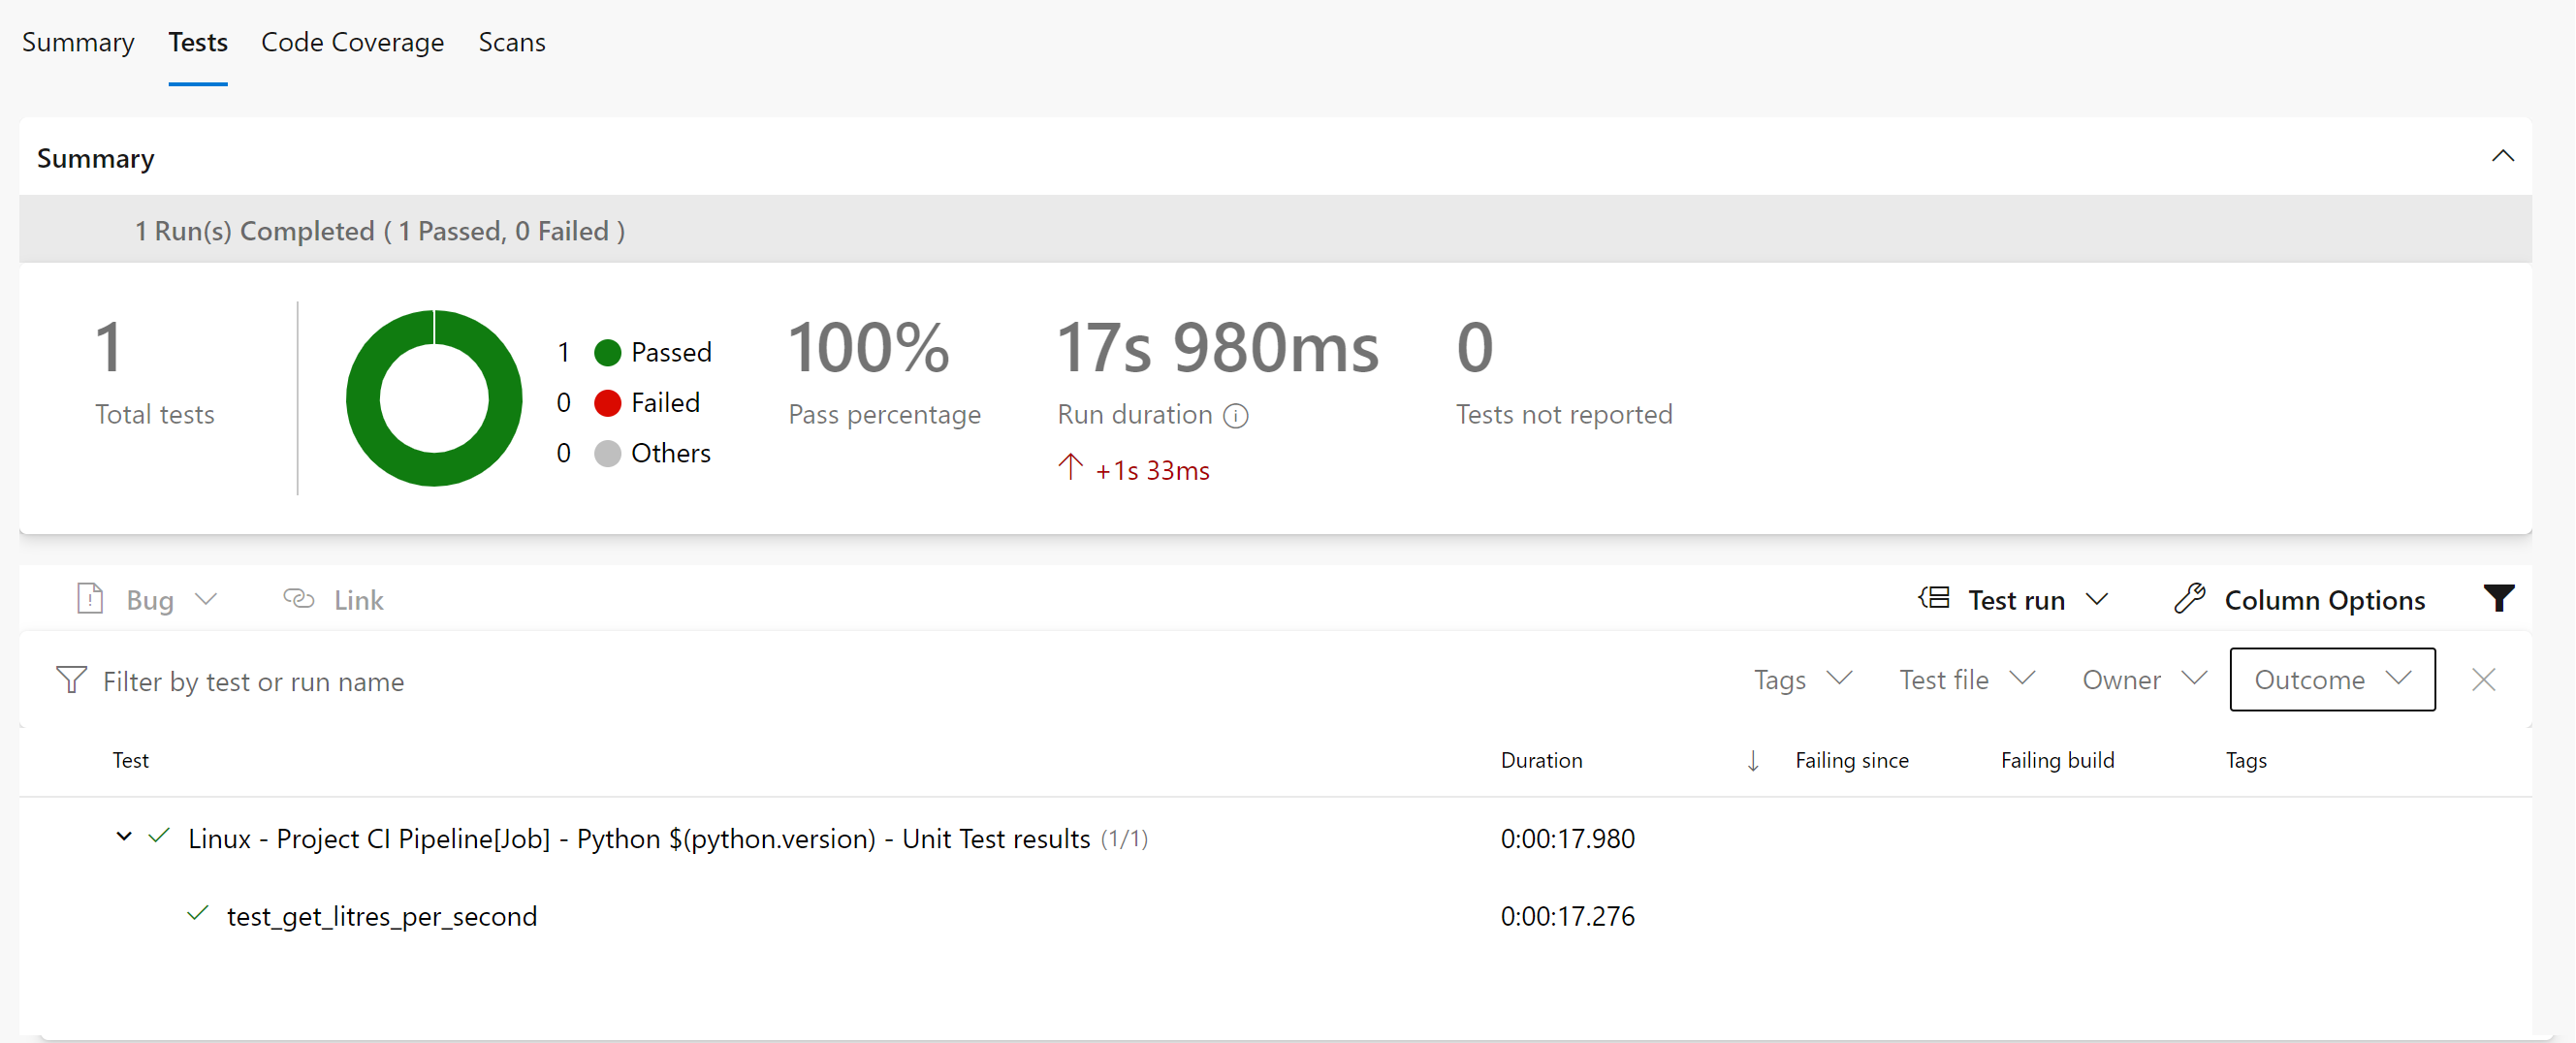
If you go back to your pipeline run status page, you’ll see that you have tabs for your Test Report and Test Coverage:
Your Test Report should look like this:
And your Code Coverage Page something like this:
