Detecting face masks using Azure Cognitive Services
Azure Cognitive Services provide us with APIs to a number of pre-trained models across Speech, Language, Vision and Decisions.
One of the Vision APIs is called Face API and some of the key features of this API are the abilities to detect faces, facial keypoints, head pose, verify someone’s face, and select out key attributes of a face such as whether they’re wearing glasses, roughly how old they are, their emotion etc.
Today we’ll be looking at some of these attributes and also work out whether someone is wearing a mask or not.
Quick disclaimer: At the time of writing, I am currently a Microsoft Employee
Face API Set Up
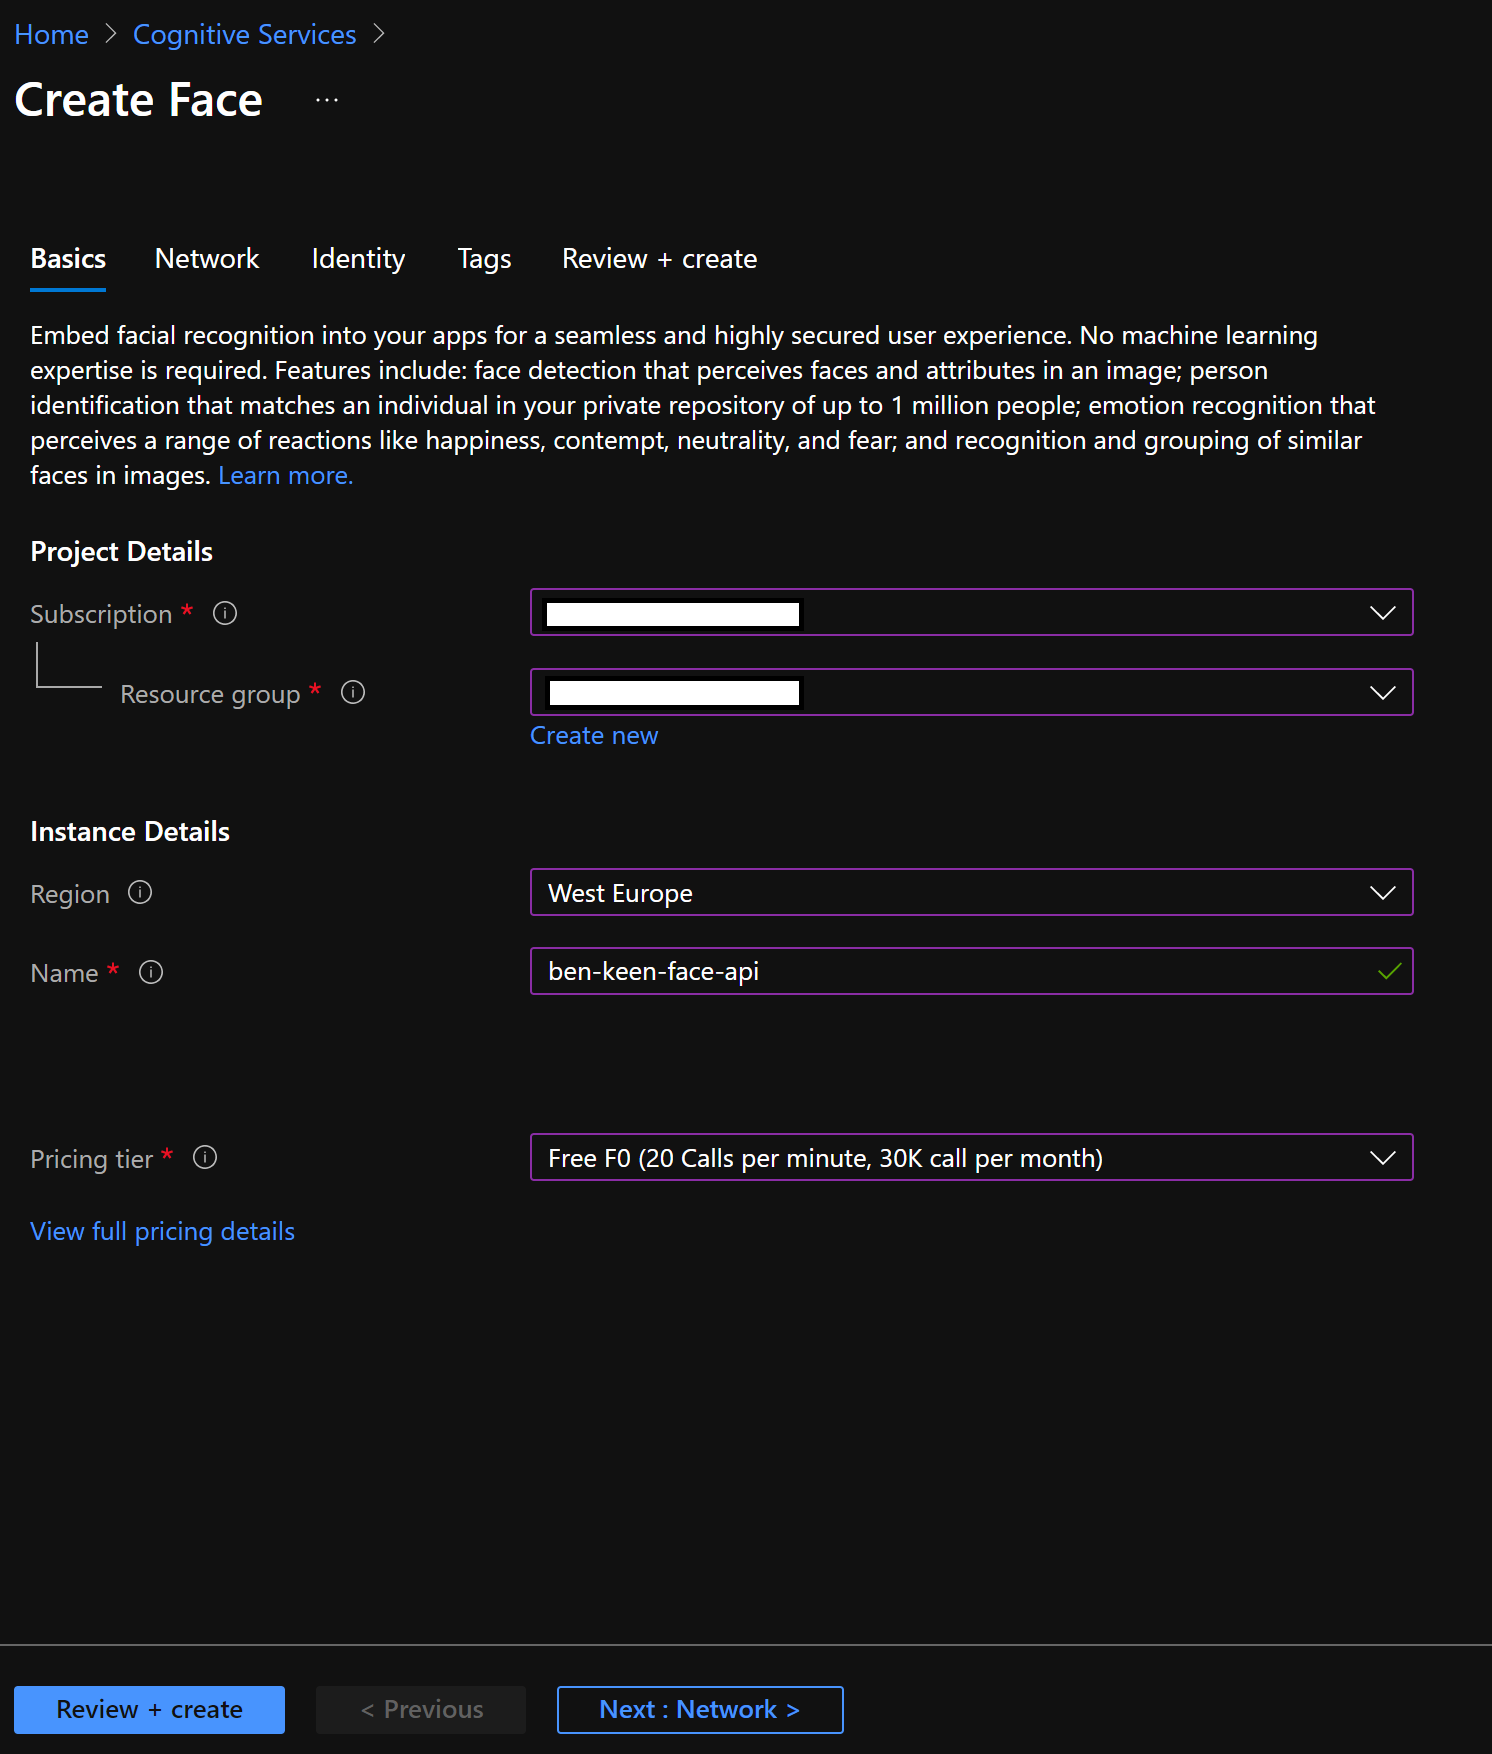
We’ll start by setting up Face API, if you search in the Azure portal for Face API, it will show up in the search bar:

Click on the “Create” button:

Now create your own Face API endpoint using the Free tier:
Once deployment has completed, navigate to your new Face API resource in the Azure Portal and click on the “Keys and Endpoint”, you should see a page similar to the following:

Make a note of your endpoint and keys and run the following, we’ll use these when we call our API endpoint:
ENDPOINT = # Your Endpoint Here
SUBSCRIPTION_KEY = # Your Key Here
FACE_API_URL = ENDPOINT + "/face/v1.0/detect"
Test Face API
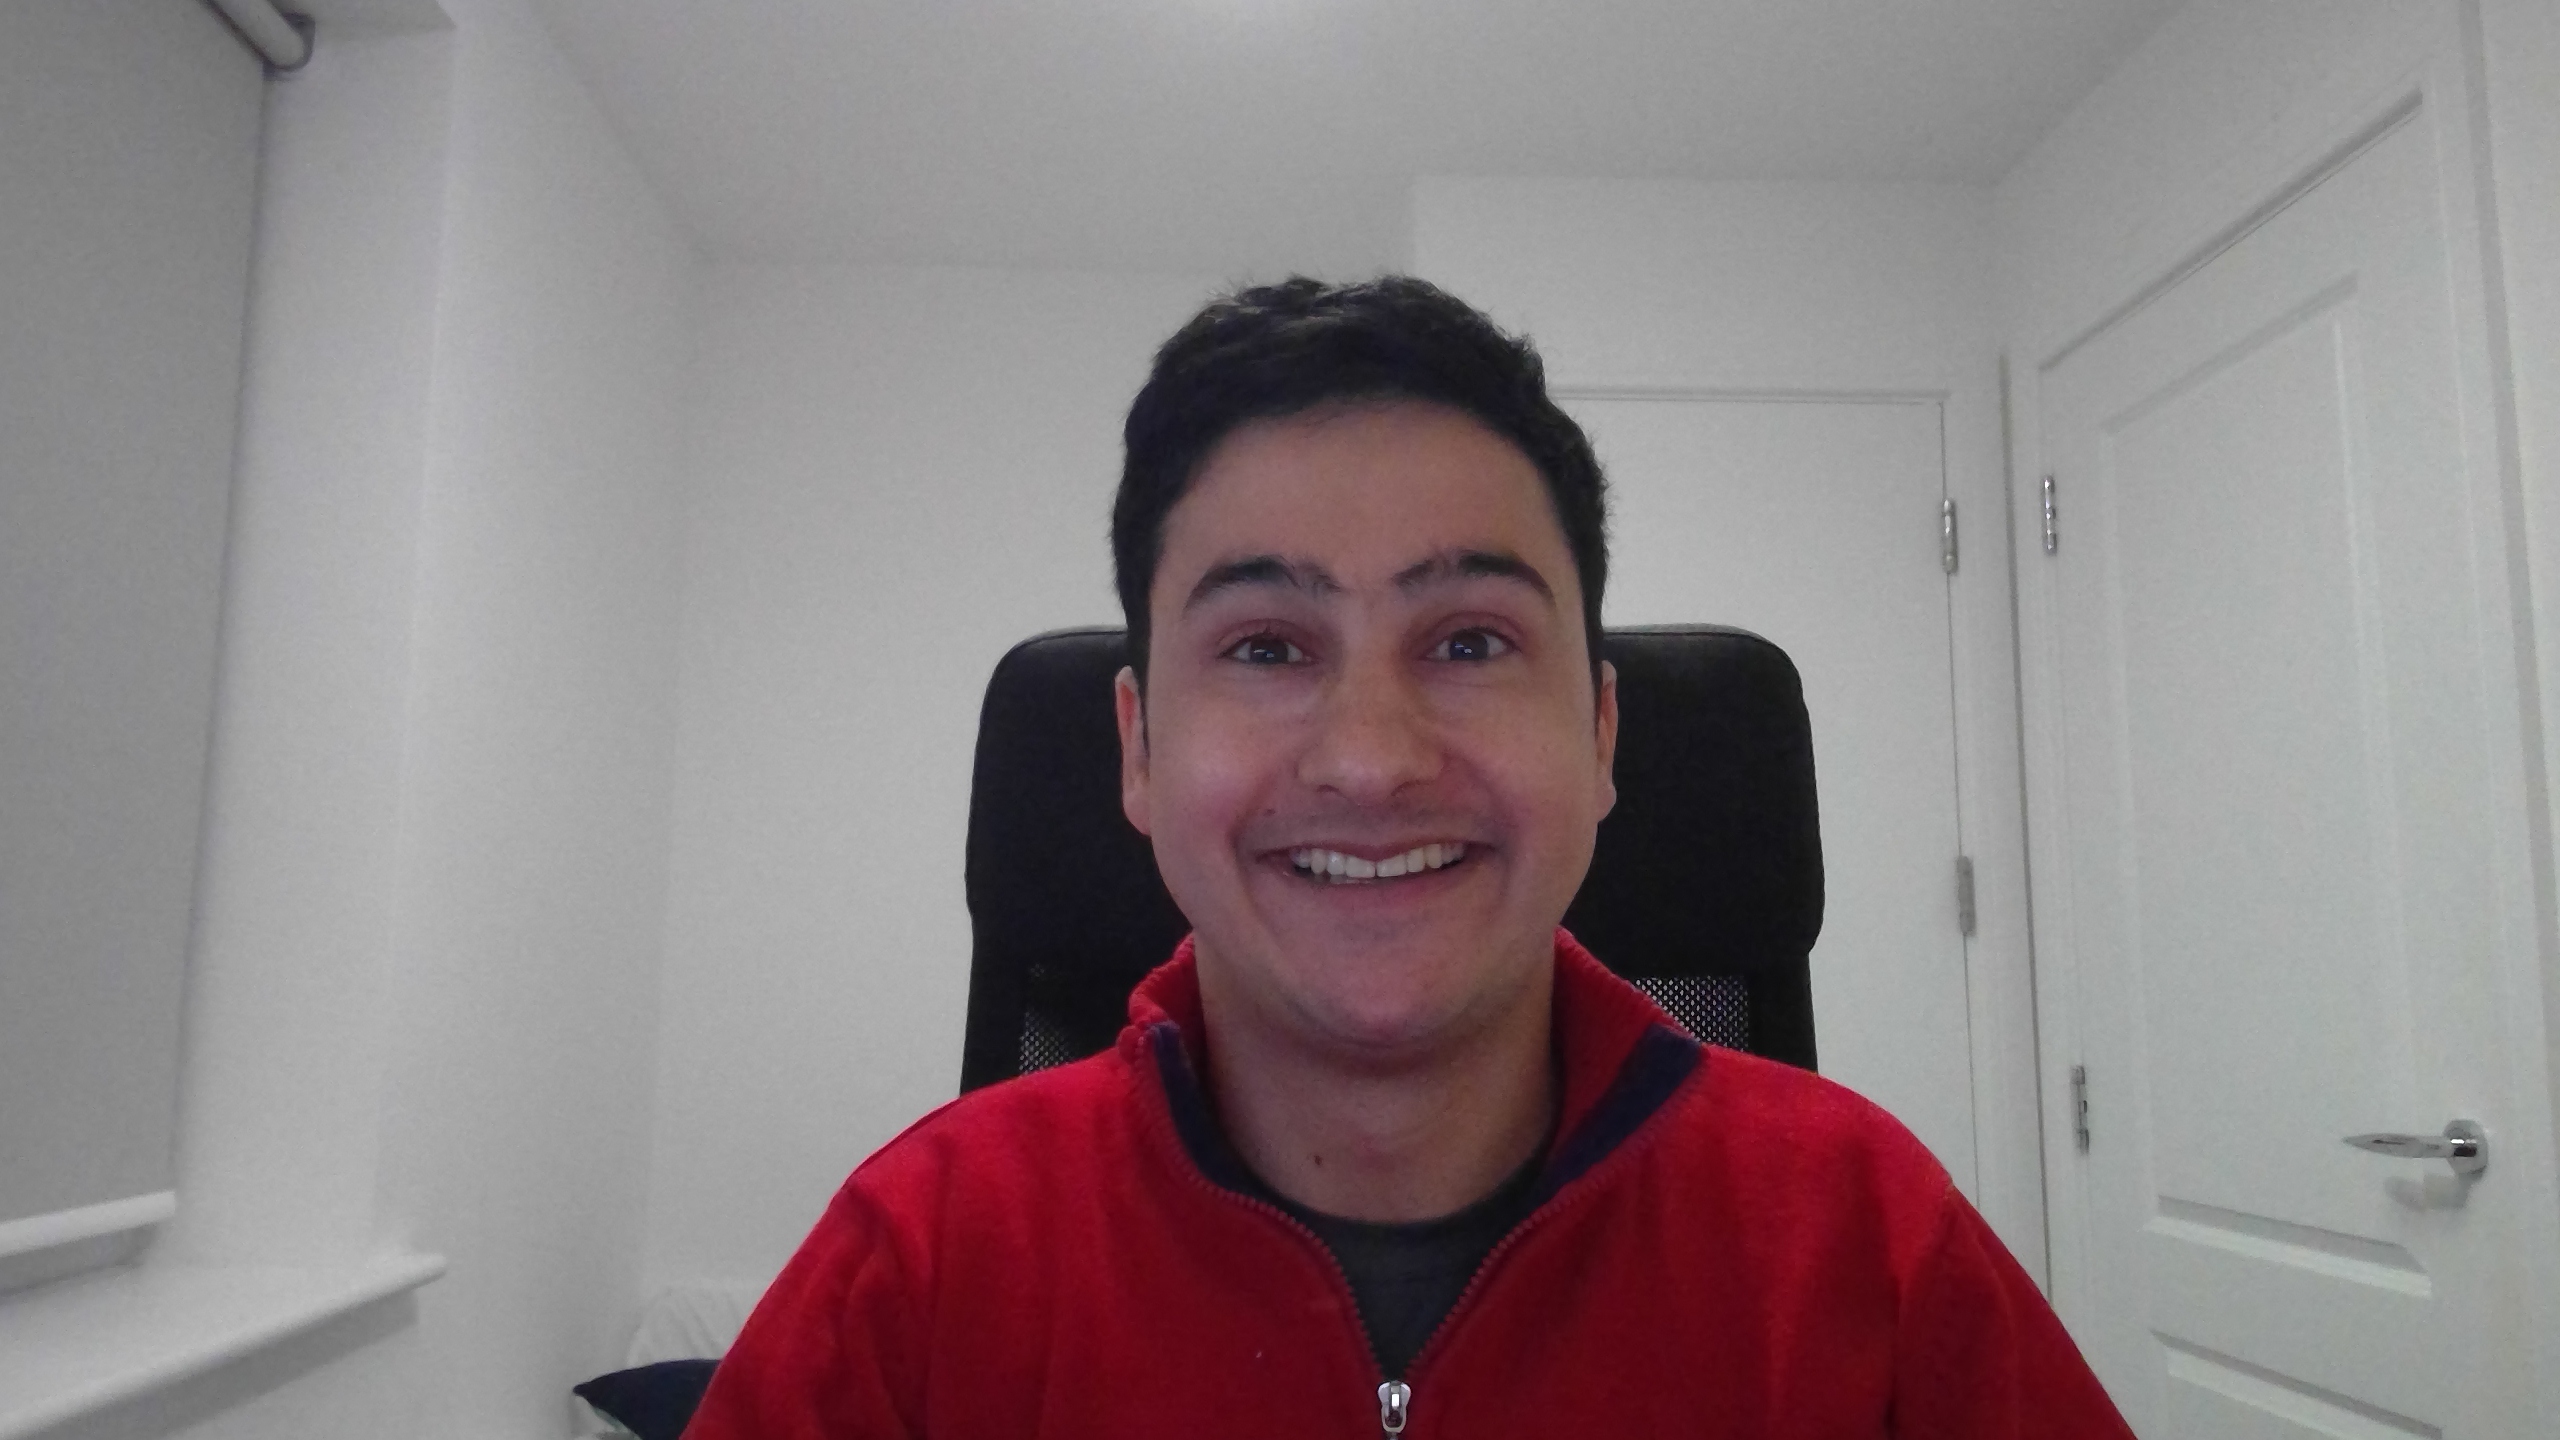
In order to test our Face API, we’re going to need an image with a face in it, I’m using this image here but you’re welcome to use an image of yourself or try out an image with multiple faces in it.
One thing to note is that there is a python SDK for most cognitivie services and Face API is no different but here we use the requests library and make HTTP requests, this is then repeatable whether you use cURL, postman or any other programming language to call the API.
You’ll need to have the numpy, matpotlib, requests and Pillow libraries pip installed.
Let’s start with some imports:
import pprint

import numpy as np
import matplotlib.pyplot as plt
import requests
from matplotlib import patches
from PIL import Image
Now we’ll use pillow (PIL; python imaging library) to load our image and display it here:
# Load Image
image_filepath = 'images/Image1.jpg'
pil_image = Image.open(image_filepath, 'r')

# Show Image
plt.figure(figsize=(10, 5))
plt.imshow(pil_image)
plt.show()

Lovely. We’ll now make a call to our API Endpoint.
We need to provide the subscription key as part of our headers and we will be providing our image as binary data so we give the Content-Type parameter as application/octet-stream. Alternatively we could provide our image as a URL and use the parameter application/json, for which the JSON data provided would be {"url": "http://example.com/1.jpg"}.
We can provide a number of parameters. To see a full list of parameters, the Face API v1.0 API documentation can be found here.
For now we’ll get the face landmarks and age, gender, glasses and smile as attributes.
headers = {
    'Ocp-Apim-Subscription-Key': SUBSCRIPTION_KEY,
    'Content-Type': 'application/octet-stream'
}

params = {
    'returnFaceId': 'false',
    'returnFaceLandmarks': 'true',
    'returnFaceAttributes': 'age,gender,glasses,smile'
}

image_data = open(image_filepath, 'rb').read()

response = requests.post(
    FACE_API_URL,
    params=params,
    headers=headers,
    data=image_data
)
Make sure our request completed successfully:
response.status_code
200
And view the response:
response_data = response.json()
pprint.pprint(response_data)
[{'faceAttributes': {'age': 33.0,
                     'gender': 'male',
                     'glasses': 'NoGlasses',
                     'smile': 1.0},
  'faceLandmarks': {'eyeLeftBottom': {'x': 1266.4, 'y': 661.3},
                    'eyeLeftInner': {'x': 1298.4, 'y': 652.5},
                    'eyeLeftOuter': {'x': 1233.3, 'y': 650.8},
                    'eyeLeftTop': {'x': 1267.5, 'y': 636.0},
                    'eyeRightBottom': {'x': 1471.9, 'y': 656.1},
                    'eyeRightInner': {'x': 1434.5, 'y': 648.9},
                    'eyeRightOuter': {'x': 1505.6, 'y': 645.0},
                    'eyeRightTop': {'x': 1471.1, 'y': 630.3},
                    'eyebrowLeftInner': {'x': 1333.4, 'y': 588.1},
                    'eyebrowLeftOuter': {'x': 1172.0, 'y': 606.9},
                    'eyebrowRightInner': {'x': 1409.6, 'y': 584.0},
                    'eyebrowRightOuter': {'x': 1561.6, 'y': 599.0},
                    'mouthLeft': {'x': 1249.5, 'y': 849.9},
                    'mouthRight': {'x': 1474.4, 'y': 850.3},
                    'noseLeftAlarOutTip': {'x': 1299.7, 'y': 776.2},
                    'noseLeftAlarTop': {'x': 1327.1, 'y': 730.5},
                    'noseRightAlarOutTip': {'x': 1442.1, 'y': 770.5},
                    'noseRightAlarTop': {'x': 1410.1, 'y': 729.3},
                    'noseRootLeft': {'x': 1341.8, 'y': 657.7},
                    'noseRootRight': {'x': 1393.3, 'y': 657.9},
                    'noseTip': {'x': 1372.4, 'y': 772.5},
                    'pupilLeft': {'x': 1265.6, 'y': 646.7},
                    'pupilRight': {'x': 1469.0, 'y': 642.1},
                    'underLipBottom': {'x': 1376.4, 'y': 905.2},
                    'underLipTop': {'x': 1373.8, 'y': 883.5},
                    'upperLipBottom': {'x': 1371.2, 'y': 850.8},
                    'upperLipTop': {'x': 1371.5, 'y': 840.0}},
  'faceRectangle': {'height': 469, 'left': 1131, 'top': 513, 'width': 469}}]
This response is an array of each face found in the image. The API detected one face so the array is of length 1.
If you look at the face attributes, you can see that:
- My gender is correctly identified
- My lack of glasses has been correctly identified (thank you laser eye surgery)
- I am smiling
- It has slightly overestimated my age but is around the correct age
Let’s take a look at our rectangle and landmark data now:
plt.figure(figsize=(15, 7))
plt.imshow(pil_image)
for detected_face in response_data:
    rect = patches.Rectangle(
        [
            detected_face['faceRectangle']['left'],
            detected_face['faceRectangle']['top']
        ],
        detected_face['faceRectangle']['width'],
        detected_face['faceRectangle']['height'],
        linewidth=2, edgecolor='limegreen', facecolor='none'
    )
    ax = plt.gca()
ax.add_patch(rect)
plt.show()

plt.figure(figsize=(15, 7))
plt.imshow(pil_image)
for detected_face in response_data:
    for landmark in detected_face['faceLandmarks'].values():
        plt.scatter([landmark['x']], [landmark['y']], color='limegreen', s=2)
plt.show()

We can see where in the image the face was detected and where the facial keypoints were detected. We’re now ready to create our own Snapchat/Instagram-like filters!
Using Face API to detect masks
If we change our detectionModel to detection_03 we can use different face attributes – in this case, we’ll look for whether the face has a mask or not so we’ll put that in our face attributes.
We’ll then label the faces in our image with whether they’re wearing a mask or not.
def call_face_api(image_filepath):
    params = {
        'returnFaceId': 'false',
        'returnFaceLandmarks': 'true',
        'returnFaceAttributes': 'mask',
        'detectionModel': 'detection_03'
    }

    image_data = open(image_filepath, 'rb').read()

    response = requests.post(
        FACE_API_URL,
        params=params,
        headers=headers,
        data=image_data
    )
    response_data = response.json()
    return response_data


def plot_image_with_mask_label(image_filepath):
    response_data = call_face_api(image_filepath)
    pil_image = Image.open(image_filepath, 'r')
    plt.figure(figsize=(15, 7))
    plt.imshow(pil_image)
    for detected_face in response_data:
        rectangle_data =  detected_face['faceRectangle']
        x = rectangle_data['left']
        y = rectangle_data['top']
        w = rectangle_data['width']
        h = rectangle_data['height']
        if detected_face['faceAttributes']['mask']['type'] == 'noMask':
            label_str = "No Mask"
            color_str = "red"
        else:
            label_str = "Wearing Mask"
            color_str = "limegreen"
        rect = patches.Rectangle(
            [x, y], w, h,
            linewidth=2, edgecolor=color_str, facecolor='none'
        )
        ax = plt.gca()
        plt.text(
            x,
            y + h + 60,
            label_str,
            size=15,
            c=color_str
        )
    ax.add_patch(rect)
    plt.show()
Let’s try it out with our initial image:
plot_image_with_mask_label('images/Image1.jpg')

Now let’s try an image where the person is wearing a mask.
plot_image_with_mask_label('images/Image2.jpg')

And there we have it, we can now detect whether users are wearing masks or not using Azure Face API, part of Azure Cognitive Services.